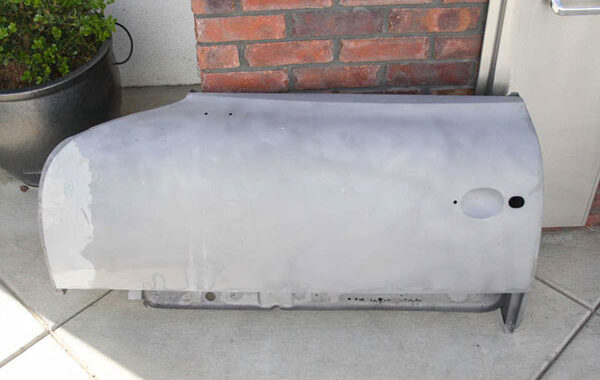
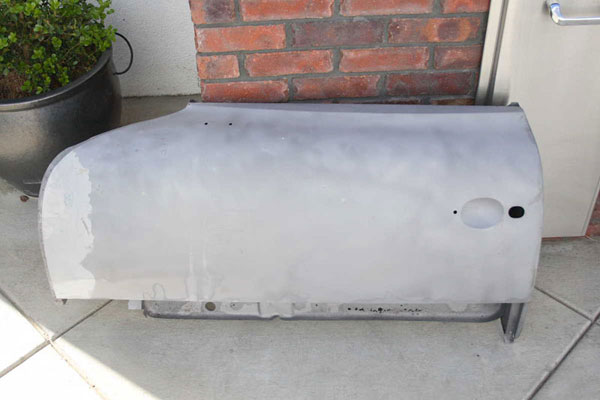
By Tom Perazzo Some things aren’t worth saving especially a hunk of metal, however I attempted it for a few reasons. 1) The door is original to the car as verified by the partial serial number stamped to match the cars VIN. I already have thousands of happy miles with my arm hanging out of this scrappy door. 2) I need the practice since I’m a hobbyist restorer working in my garage. Welding on such a large mostly flat door would be the most challenging to get right and if I screwed it up, other doors are out there, ha ha.
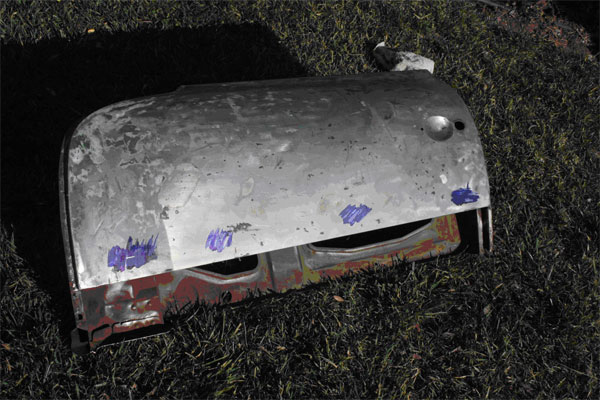
First signs of trouble showed up as a few cracks and bubbles down low near the door bottom. Without removing the paint I originally thought there was only a 6” x 6” area of the lower door skin needing repair. The story that follows turned out to be many more chapters of blood sweat and tears.
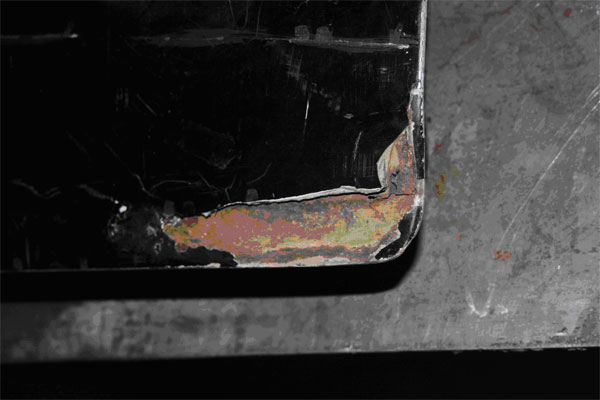
Shown below is a chunk of bondo broken off to reveal a poor previous repair.
Rust attacked the door skin the entire length of the door where the door bottom and skin meet. The door bottom had a few holes at the front and rear and was thin in several spots. Scribe lines 8” above the door bottom were made as a reference point, then I cut 6” of the door skin off including the door bottom.
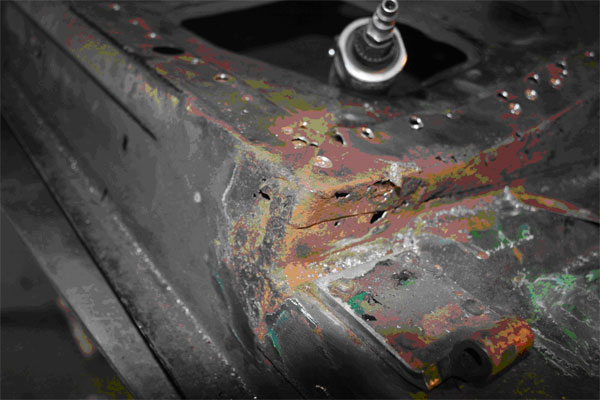
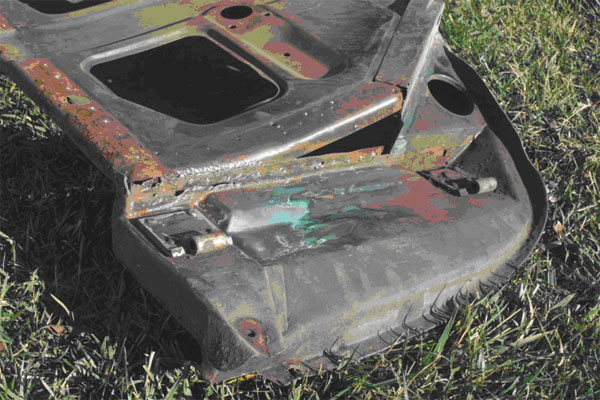
Even after I cut out everything shown in the pictures above, it appeared there was even more rust under the lower hinge as evidence by the bulging metal near the rivets and heavily pitted metal.
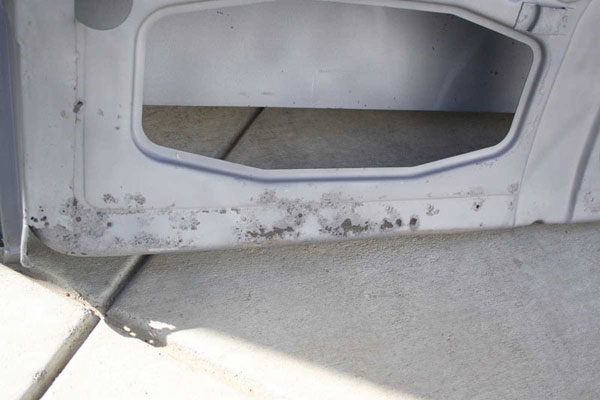
More rust near the top window slot too.

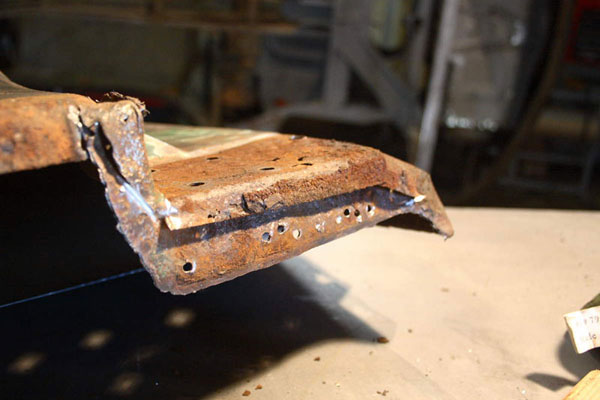
After most of the major cutting was done the door was sandblasted. I felt more comfortable stripping the outer skin myself with a heavy duty stripper wheel from sunchaser tools. (less than 5 minutes to bare metal, but be careful with lead dust)
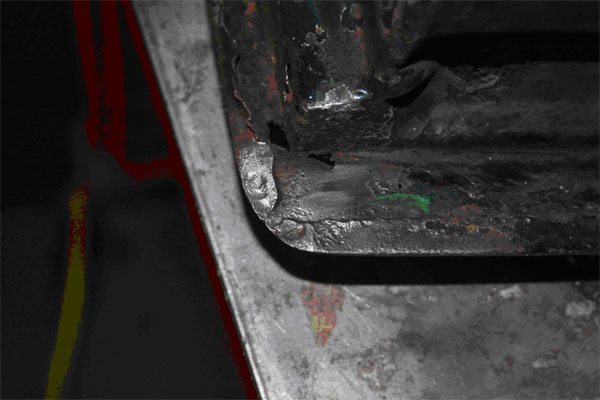
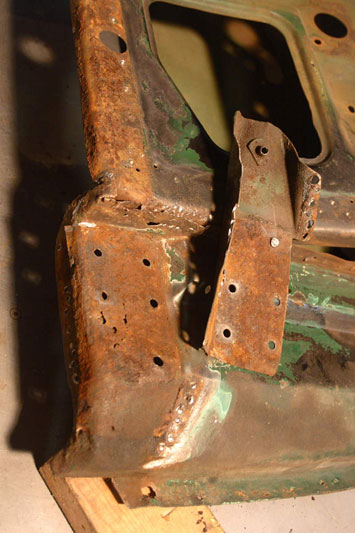
As seen in the above picture more obvious holes showed up where the door bottom overlaps the inner door structure.
Finally its time to start putting metal back. Not much left of the original door eh? Stay tuned for more.