By Tom Perazzo
Part I covered most of the removal of bad metal, but there was a bit more rust under the lower hinge. I struggled with decision to upset this area and it probably would have been fine despite a few holes and thin metal, but I couldn’t leave it alone.

Above is a small patch near the lower hinge area.
.jpg)
The above picture shows new metal partially welded in. All welds are made with a TIG (About 20 A, .040” Red labeled Tungsten, .023” fill wire).
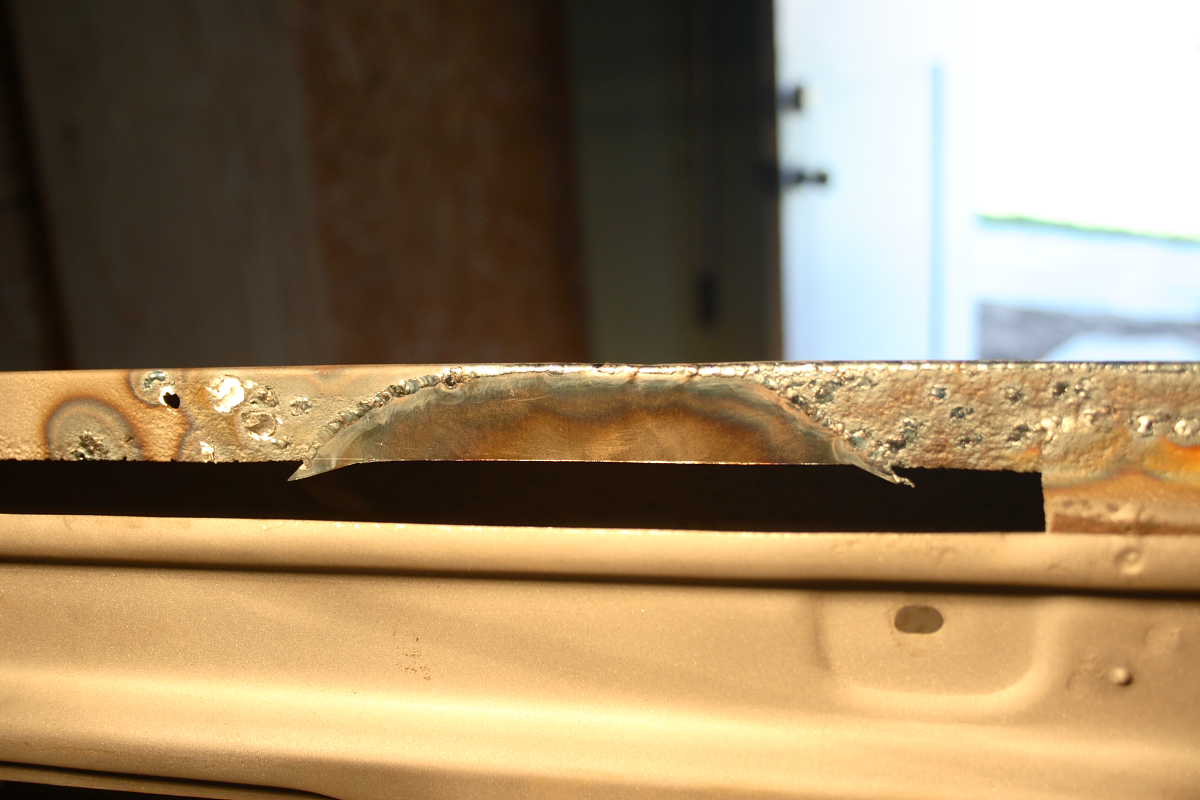

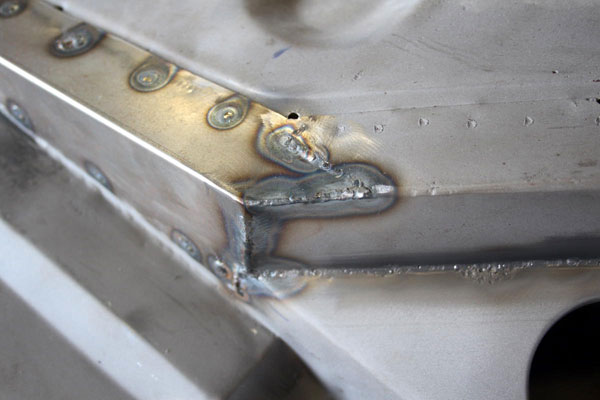
This picture shows a patch welded to the section where the fuzzy strip attaches. Some rust craters to the right were filled, but not finished flat yet. Also note the tails of the patch on each end. This avoids consuming too much metal at the end of the weld leaving a moon shaped bite. In my opinion its easier for me to cut this off later than to add metal to edge where TIG torch access is difficult.
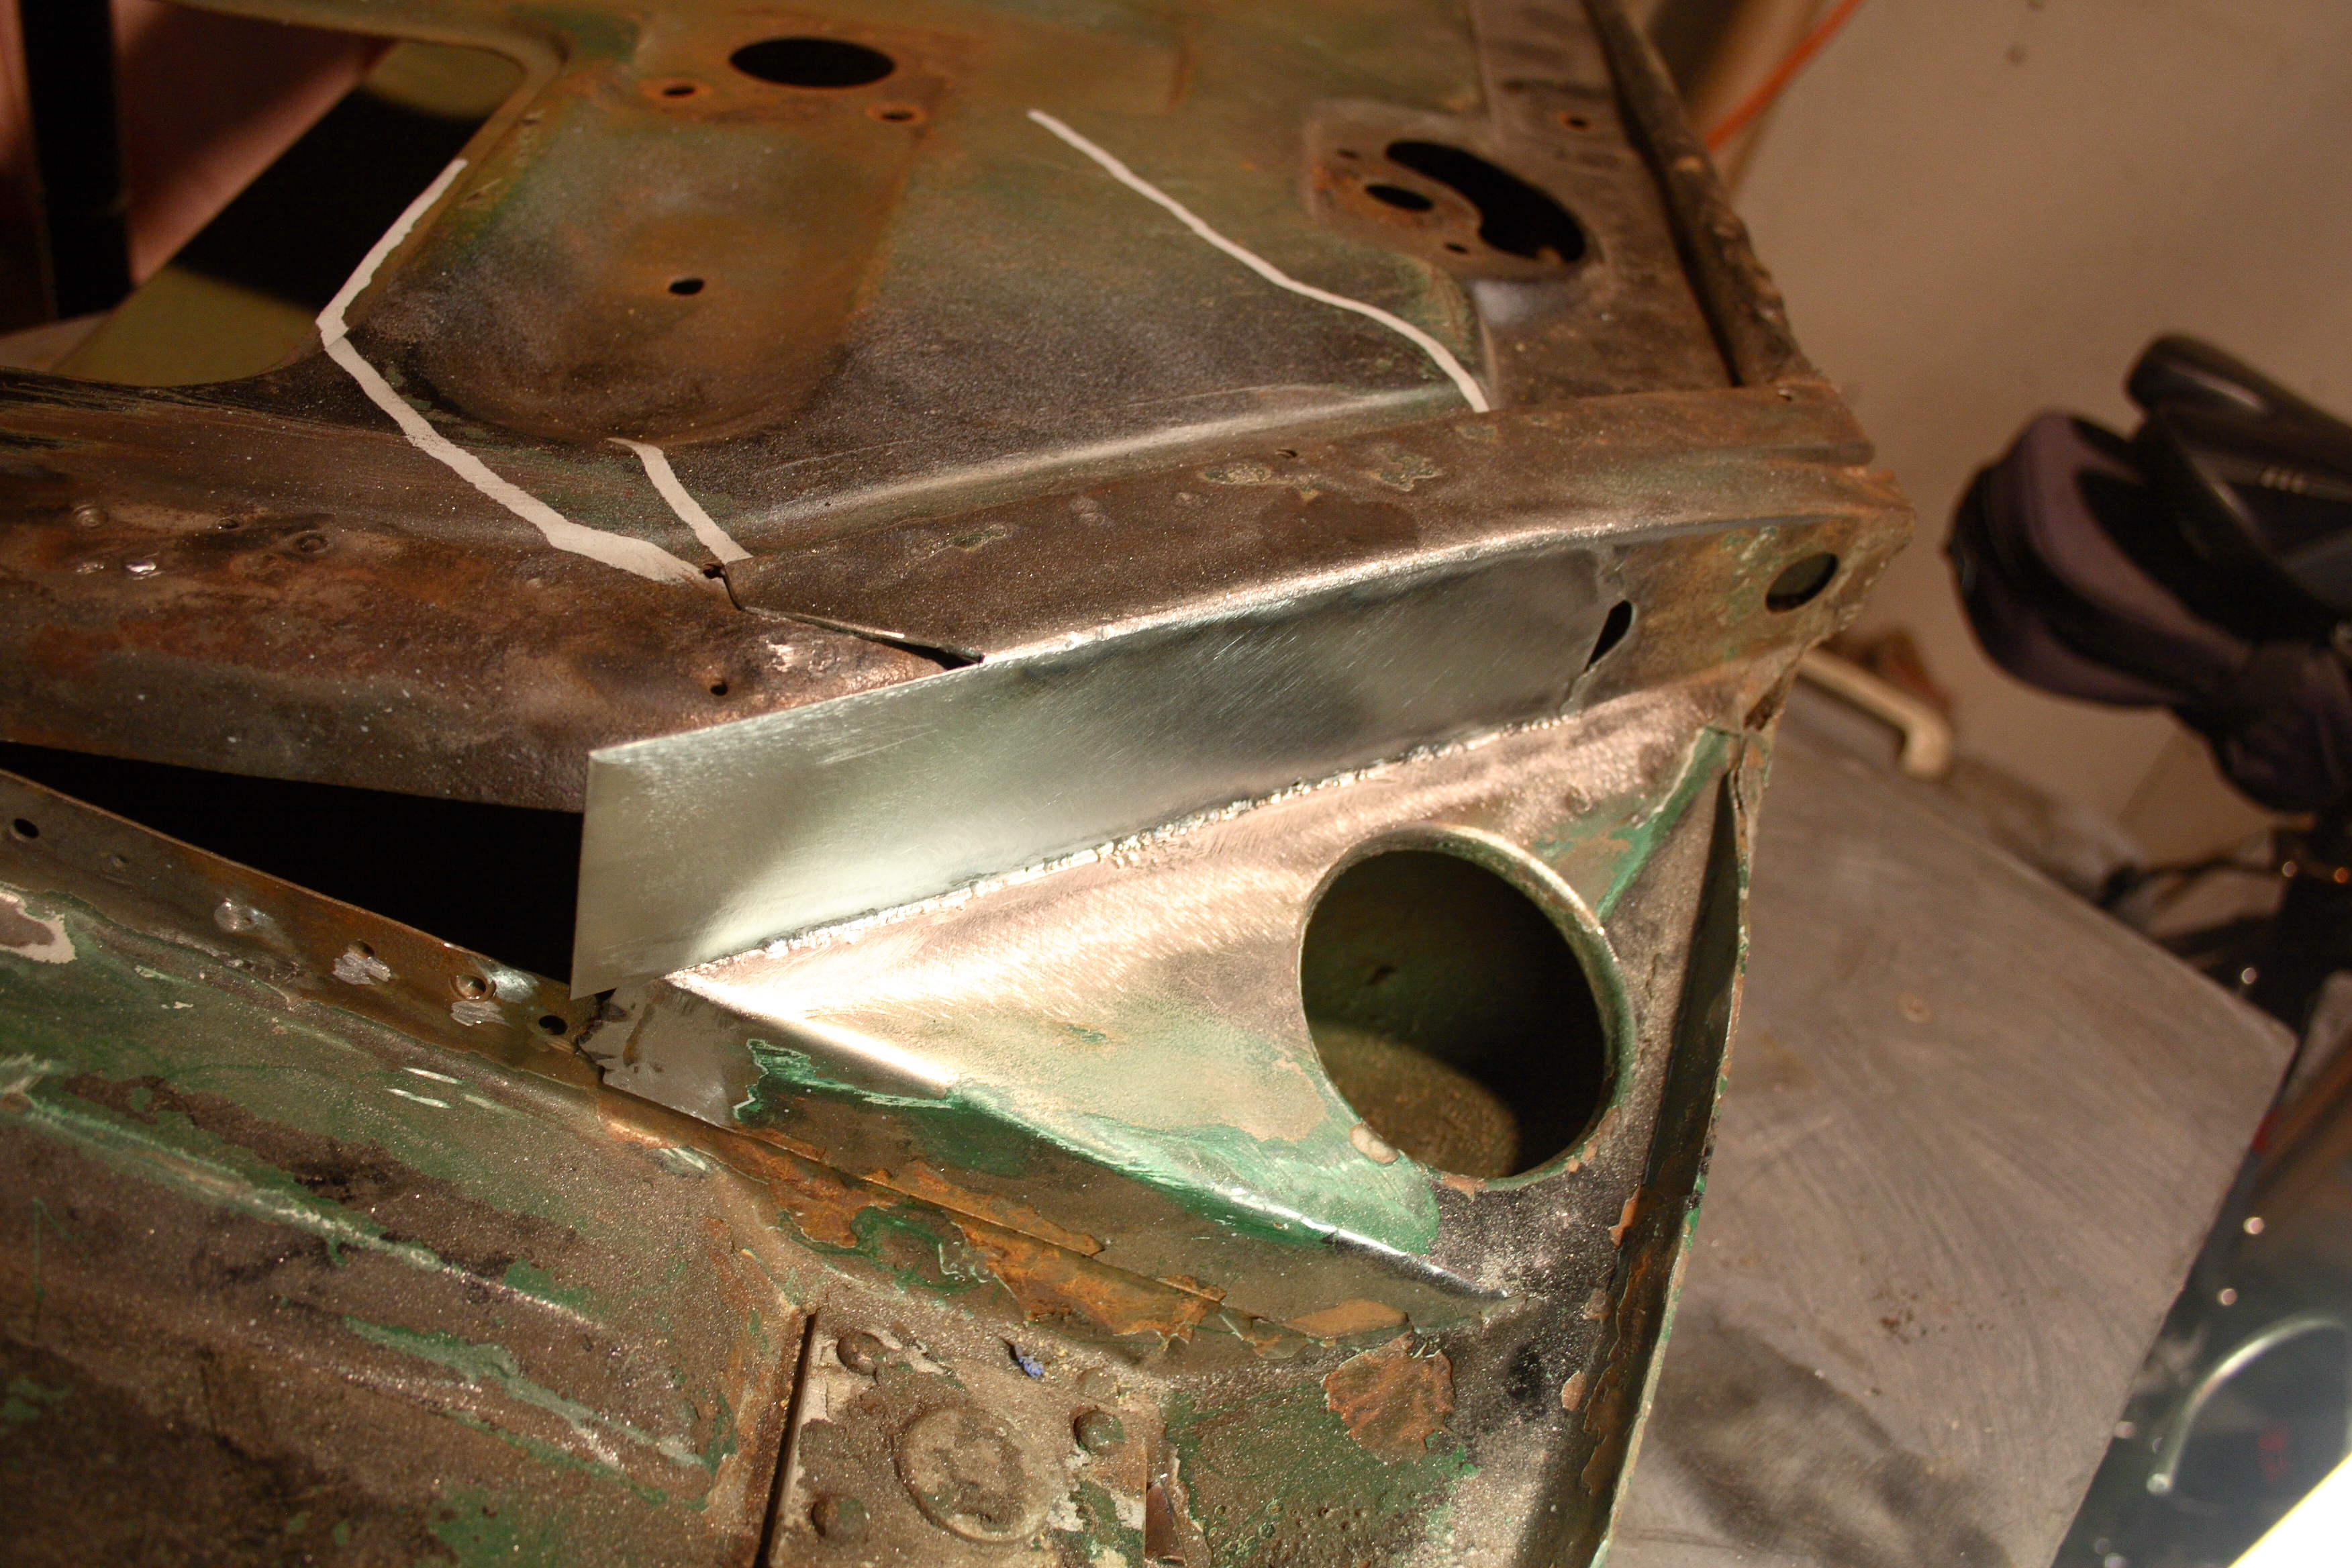

This picture shows a patch welded near the upper hinge. Prior to welding all hidden cavities were wire brushed, treated with Osphoric acid, and then flooded with epoxy primer as seen by the ugly drips above. The upper weld where the patch makes a 90 degree corner to the existing horizontal metal was filed round to emulate the bent sheetmetal by the factory.

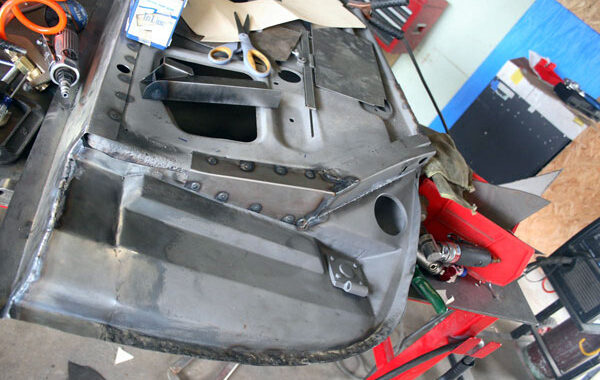
Part I showed a holey lower section of the inner door structure.
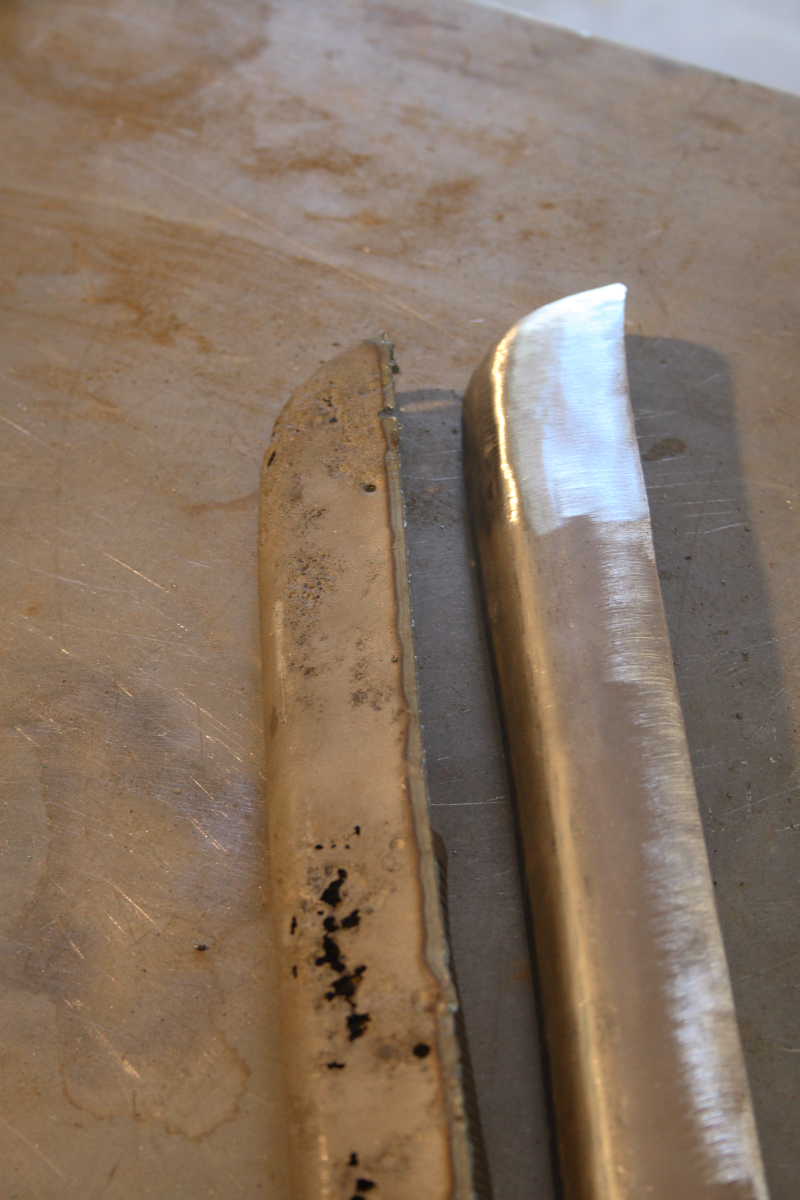

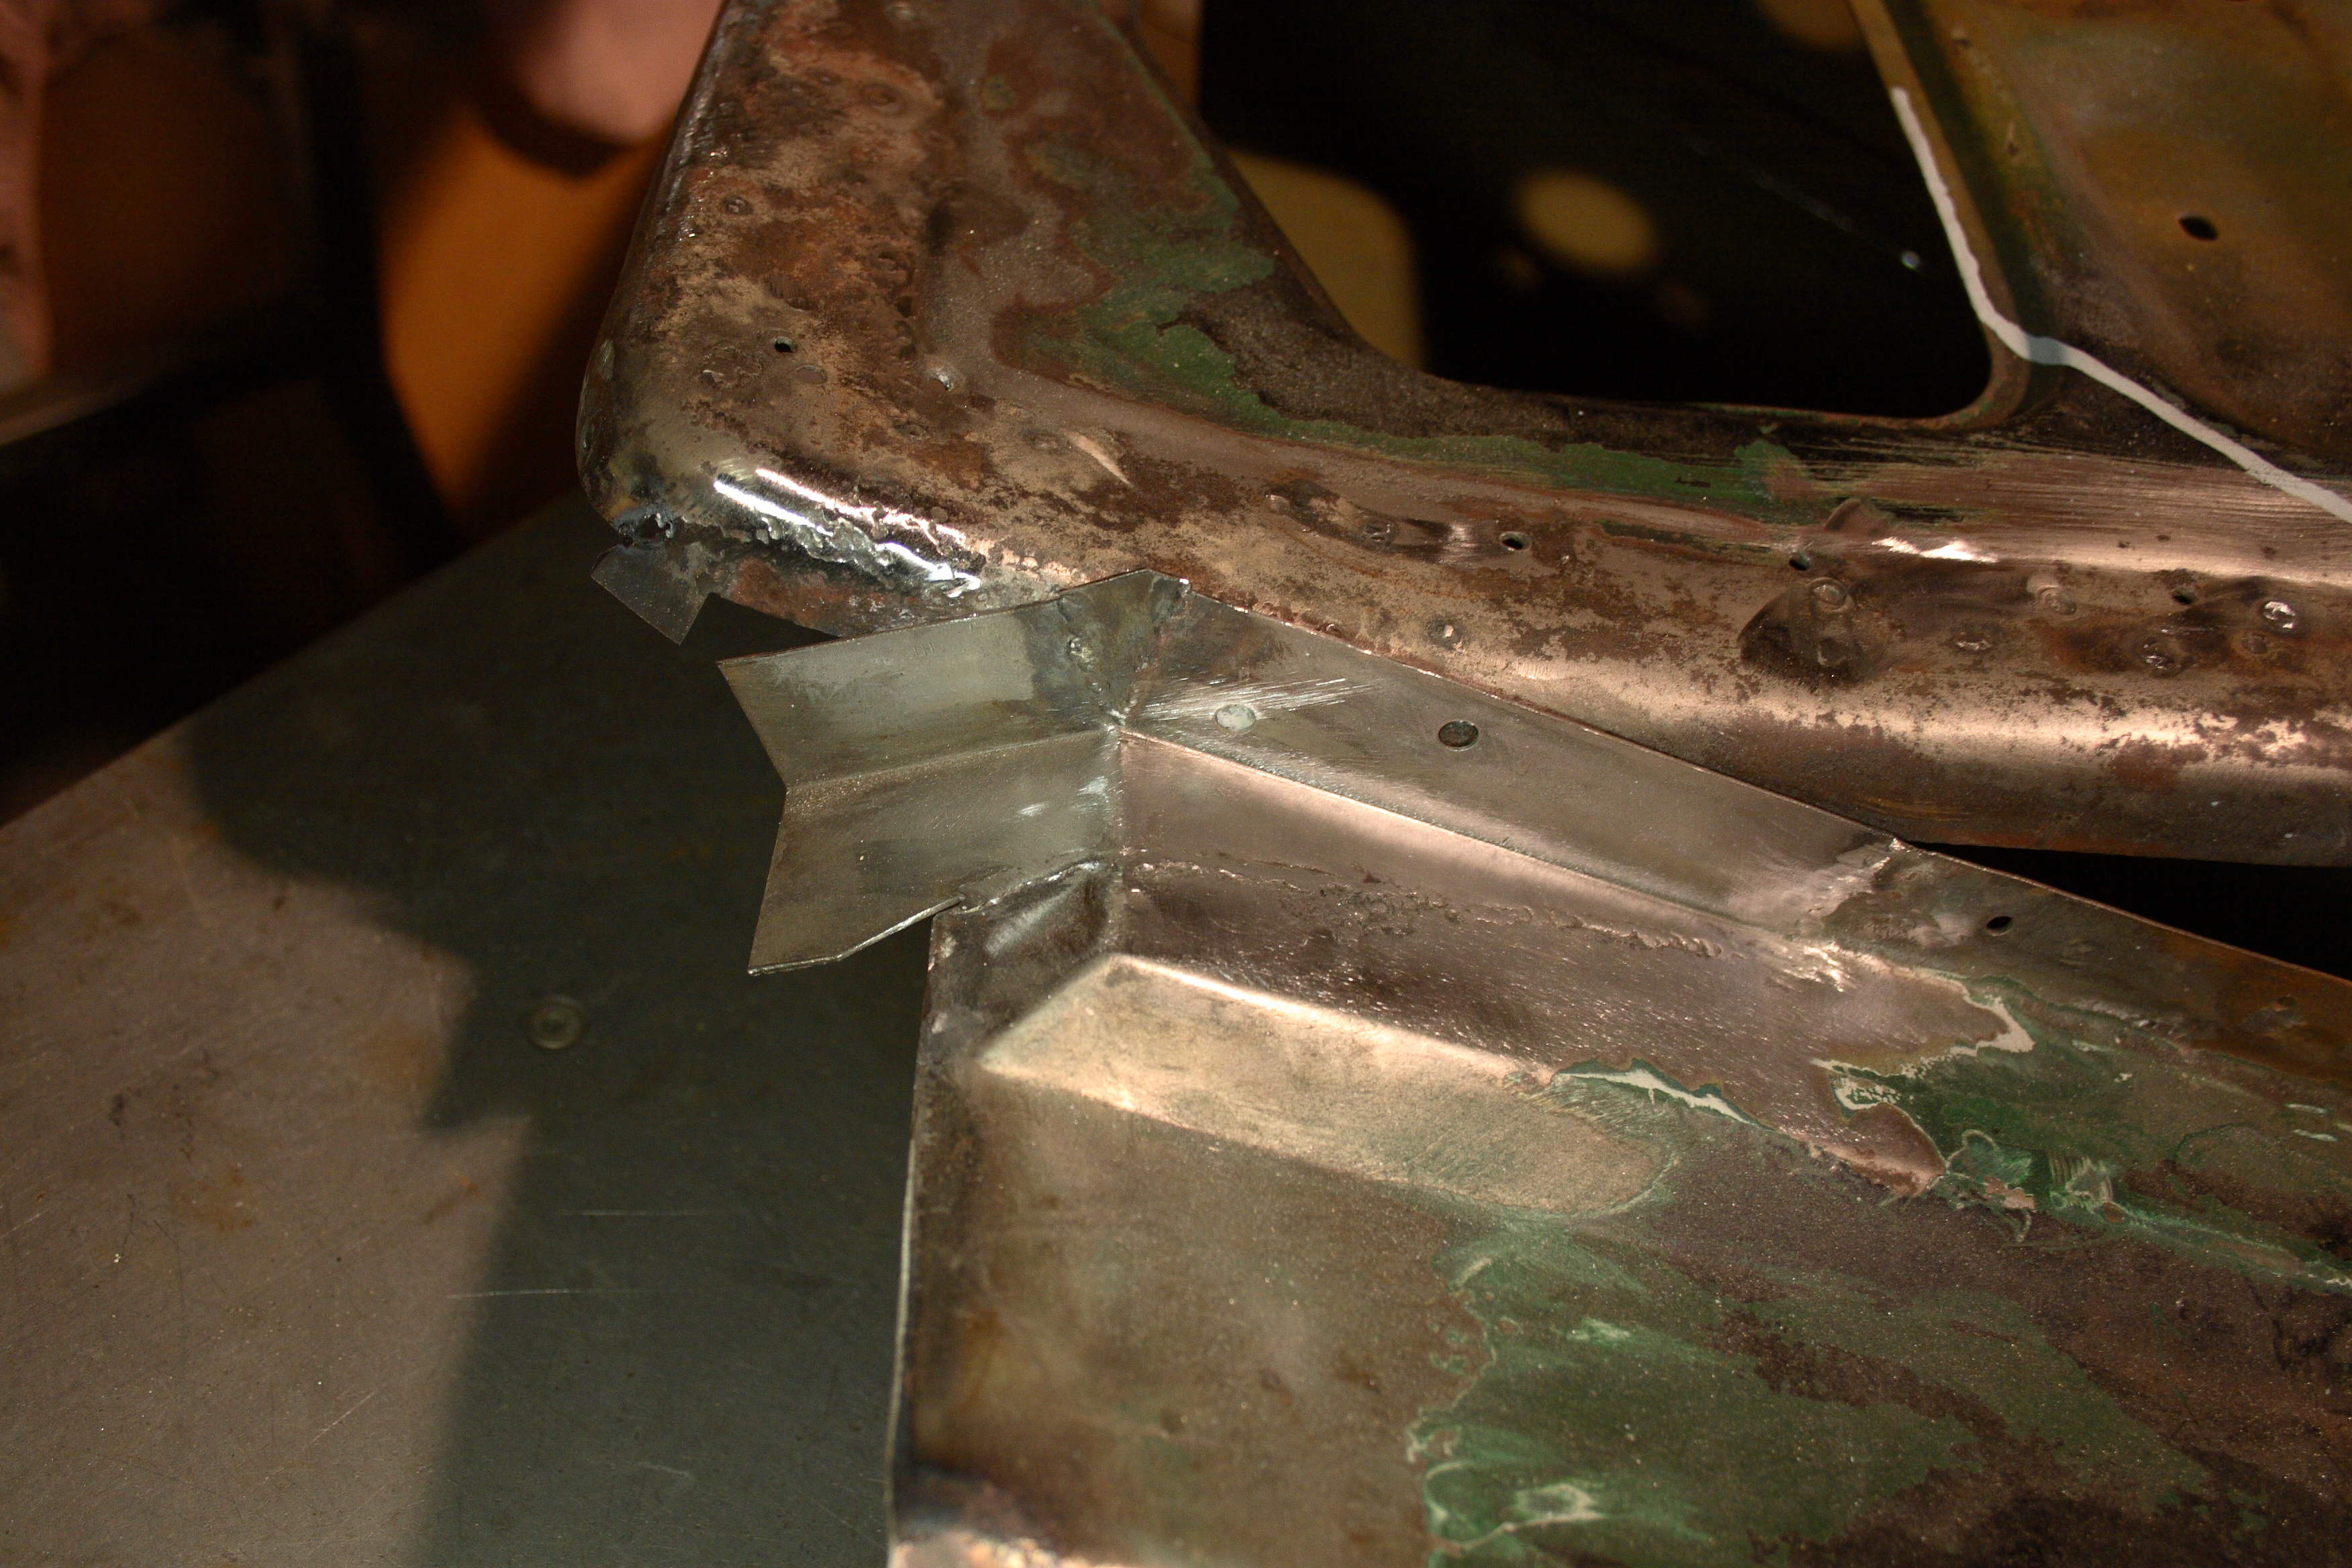
Here is that section cutout and the newly formed replacement piece. The end was heated with my TIG and then formed over a metal dolly.

Here it is fully welded in.


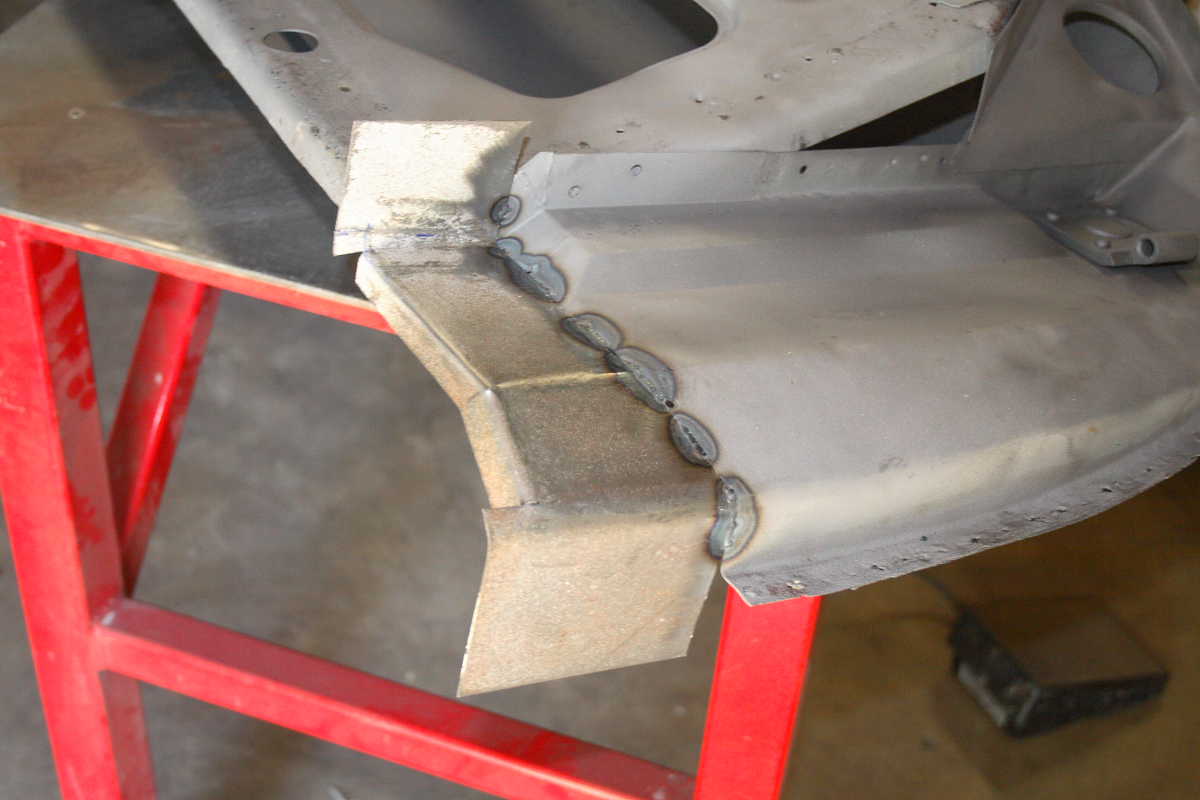
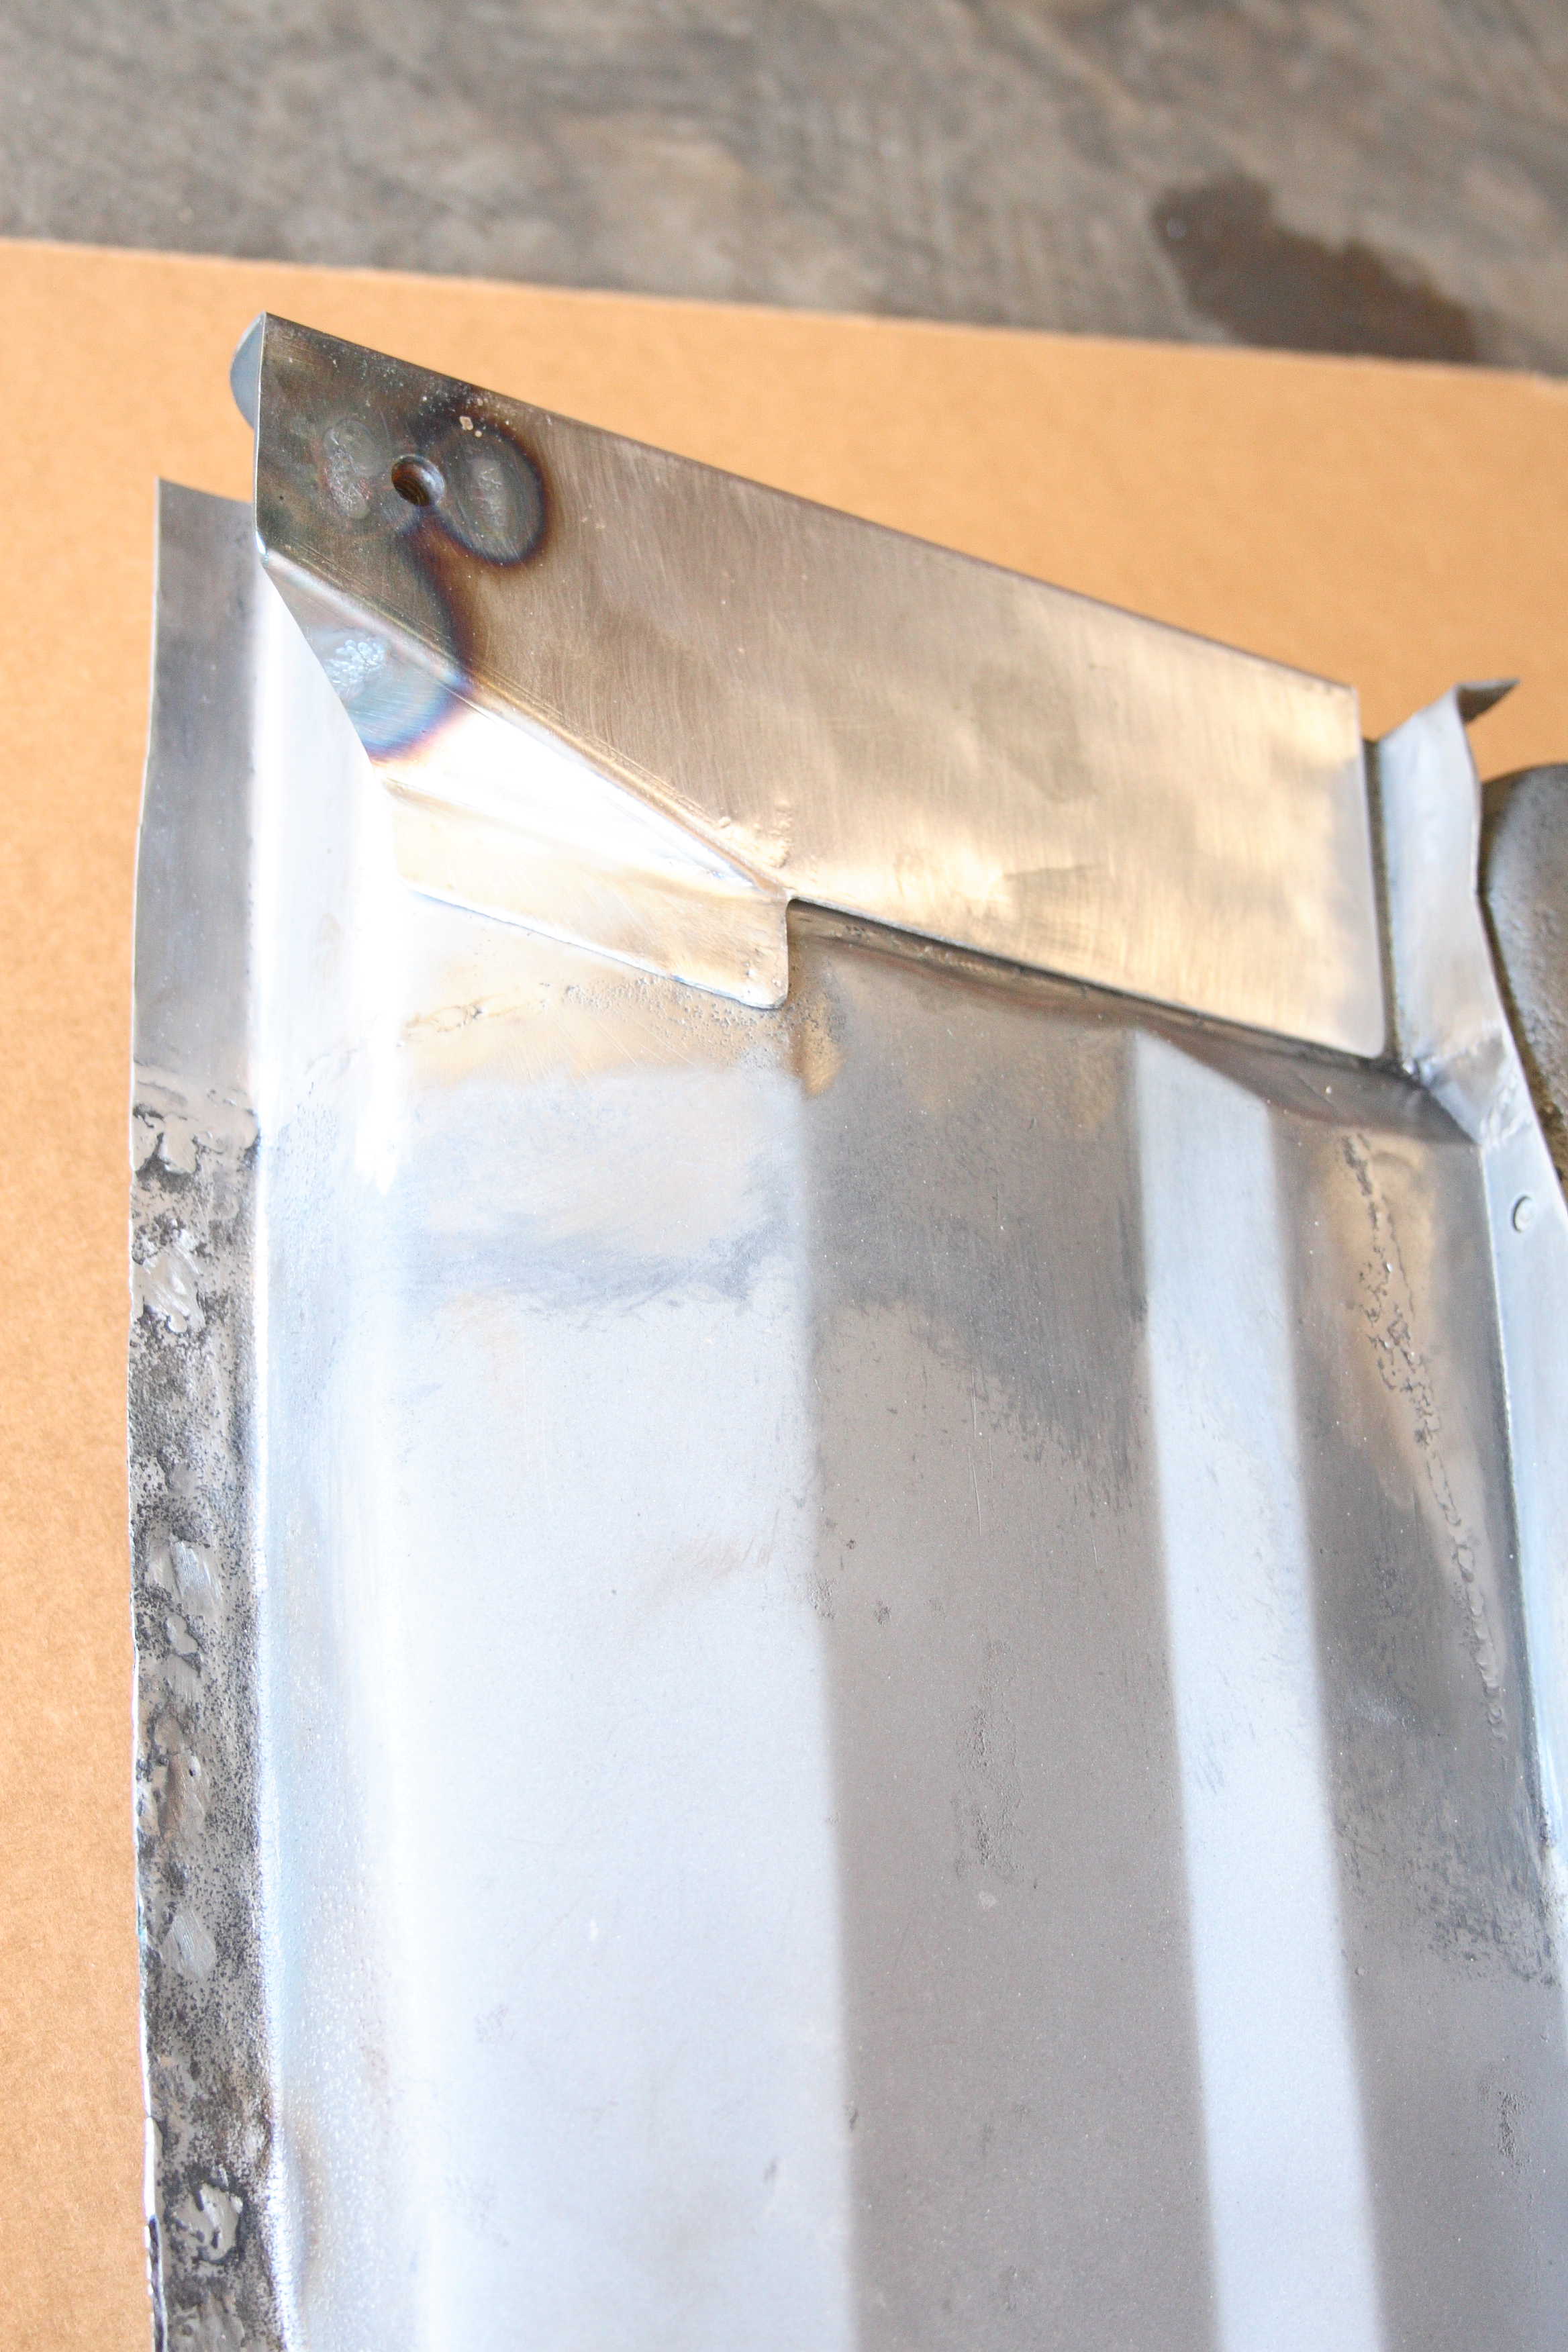
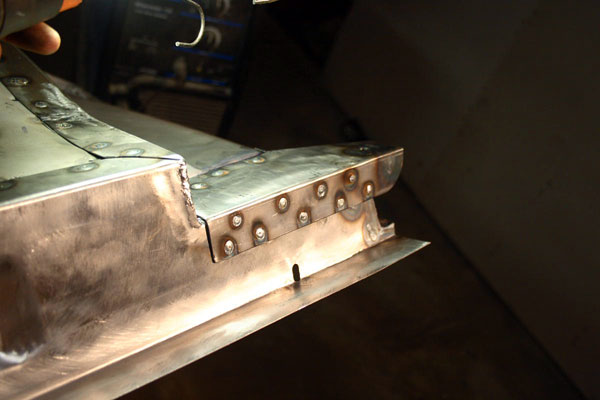
Here’s a view of another patch closing out the flanged area between the door hinges. And the door bottom is welded in place. Plug welds made with a MIG welder are visible.

Close up of corner flanged area, raw unfinished welds.


Wrapping up hinge area.
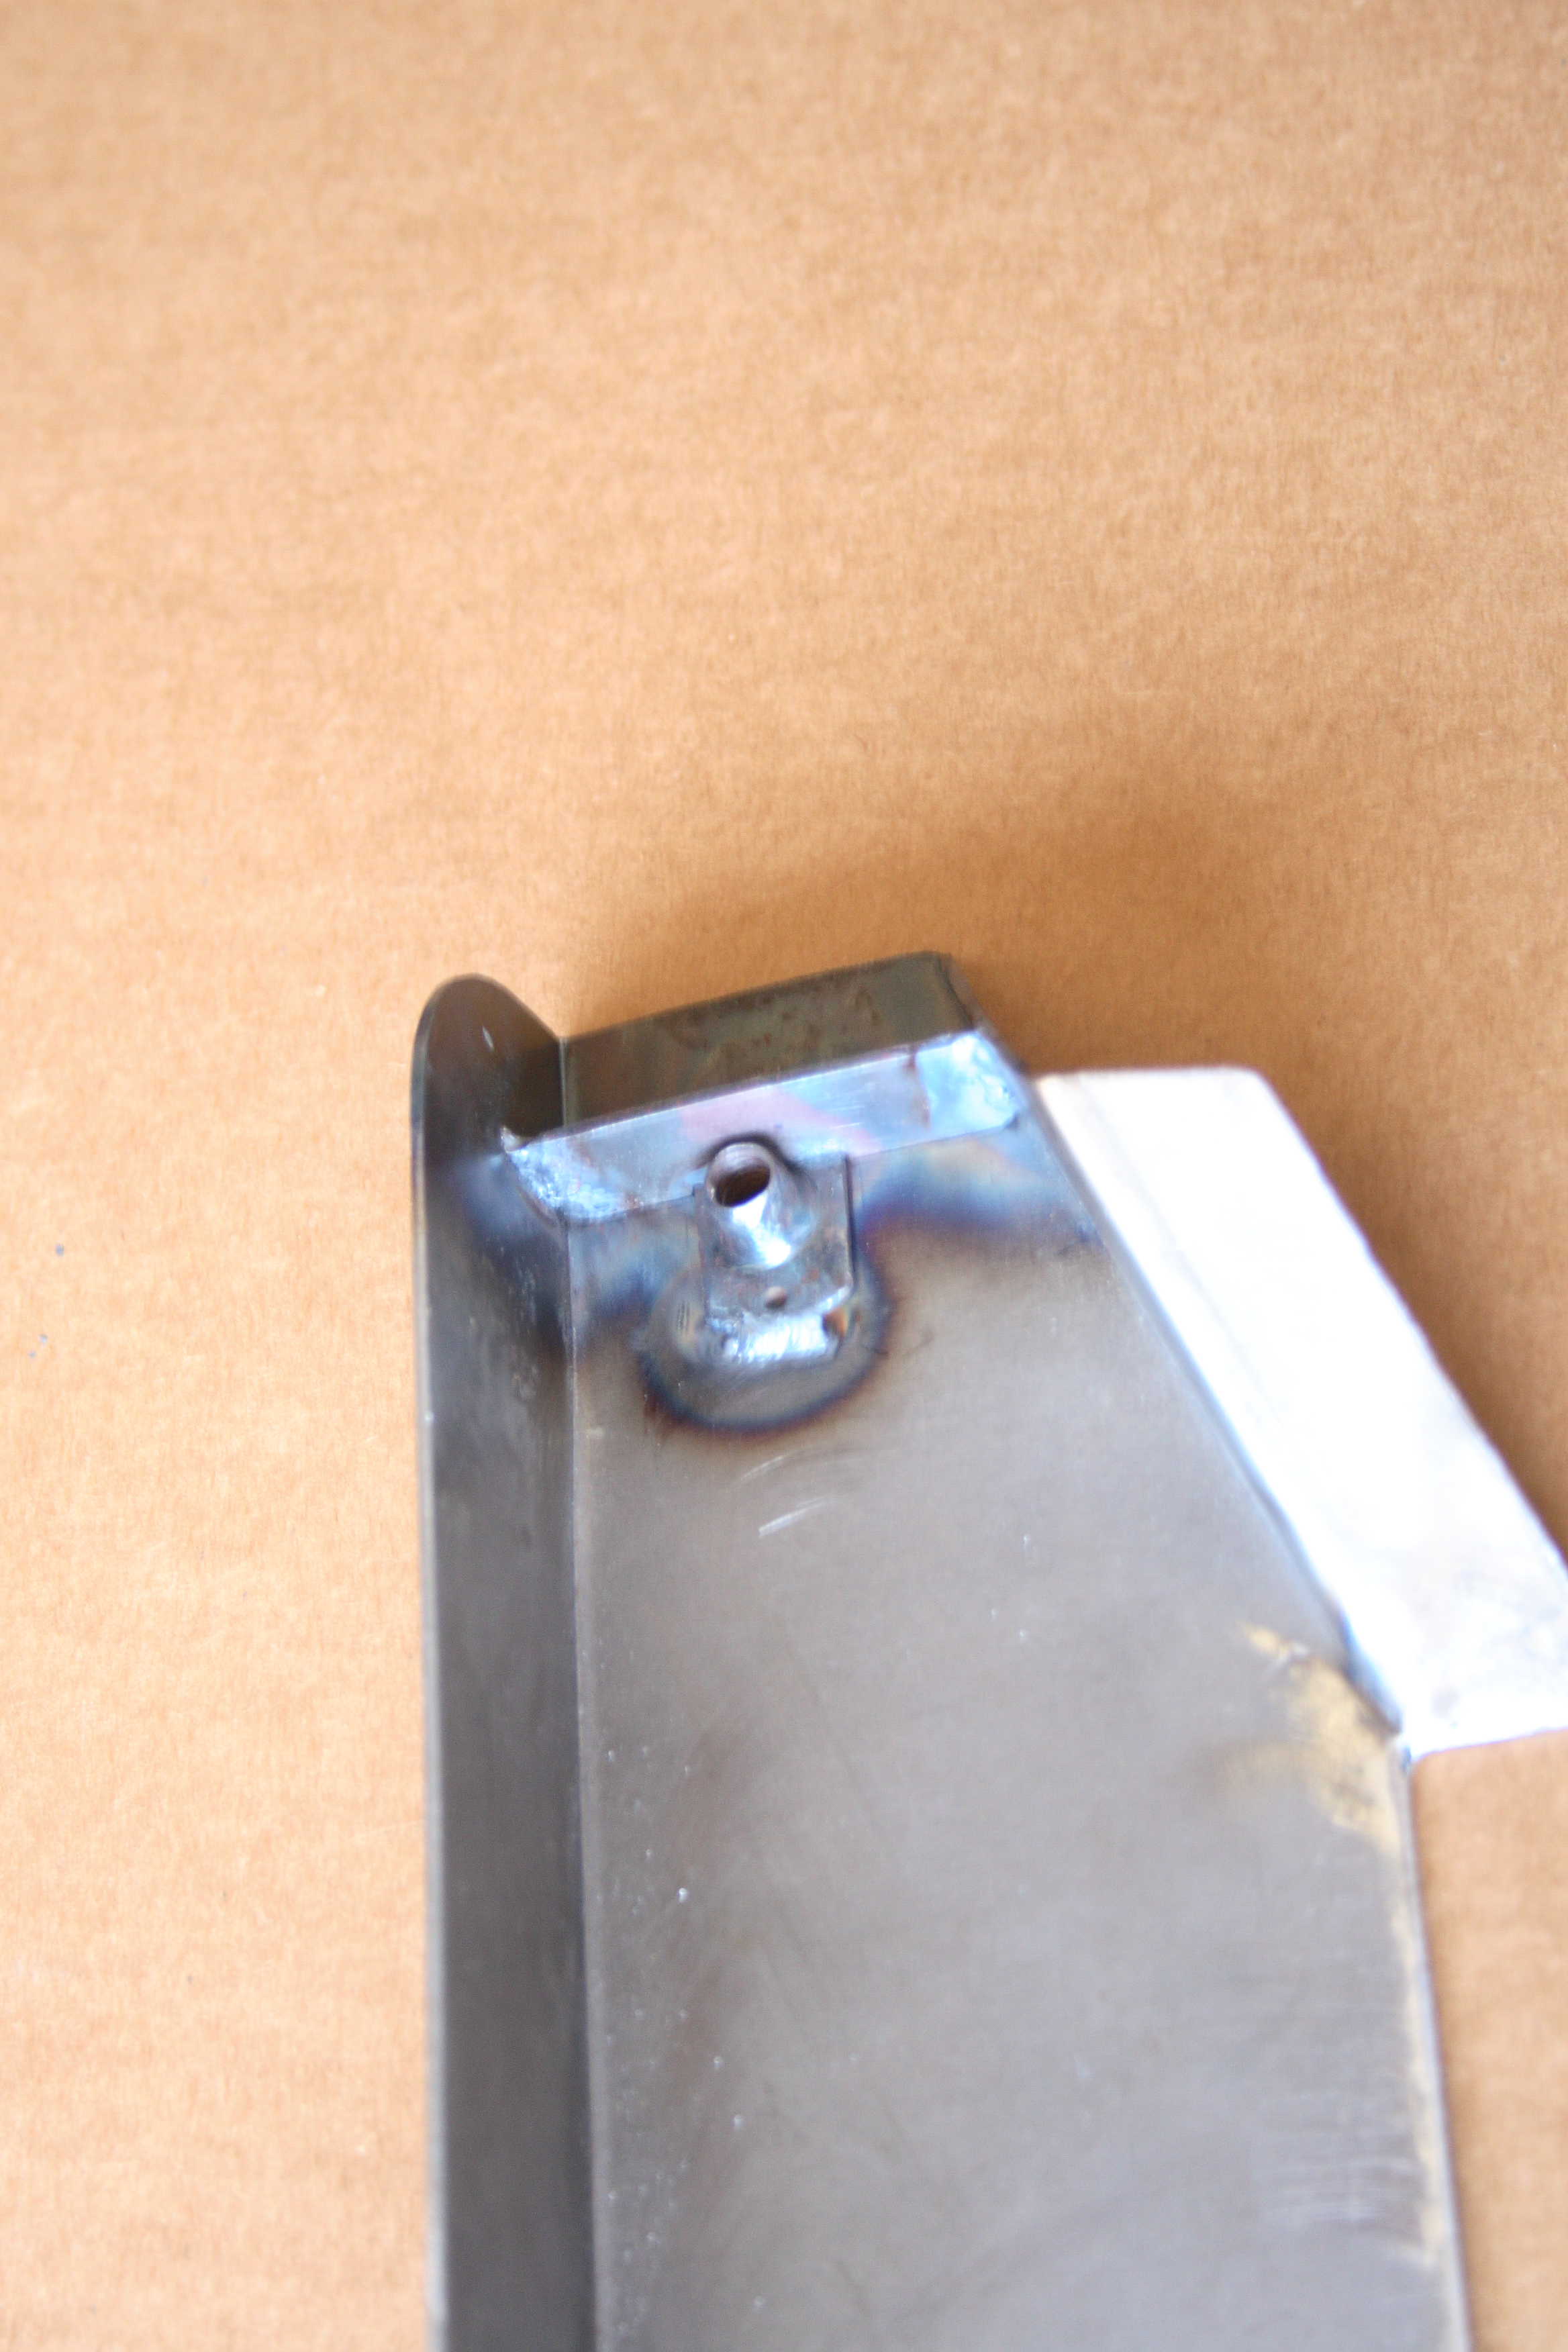


The two pictures above show the door stop bracket welded in. I used a MIG welder to plug weld this on. A metal press brake was used to make the sharp bends. One of the bends had to be finished with a hammer and vice though. The last picture shows a modification made to strengthen this bracket where the rubber bump stops threads into. Every door I’ve seen has this area caved in, so I reinforced the inside with a welded gusset. I don’t think it will be visible without a mirror once the door is installed.
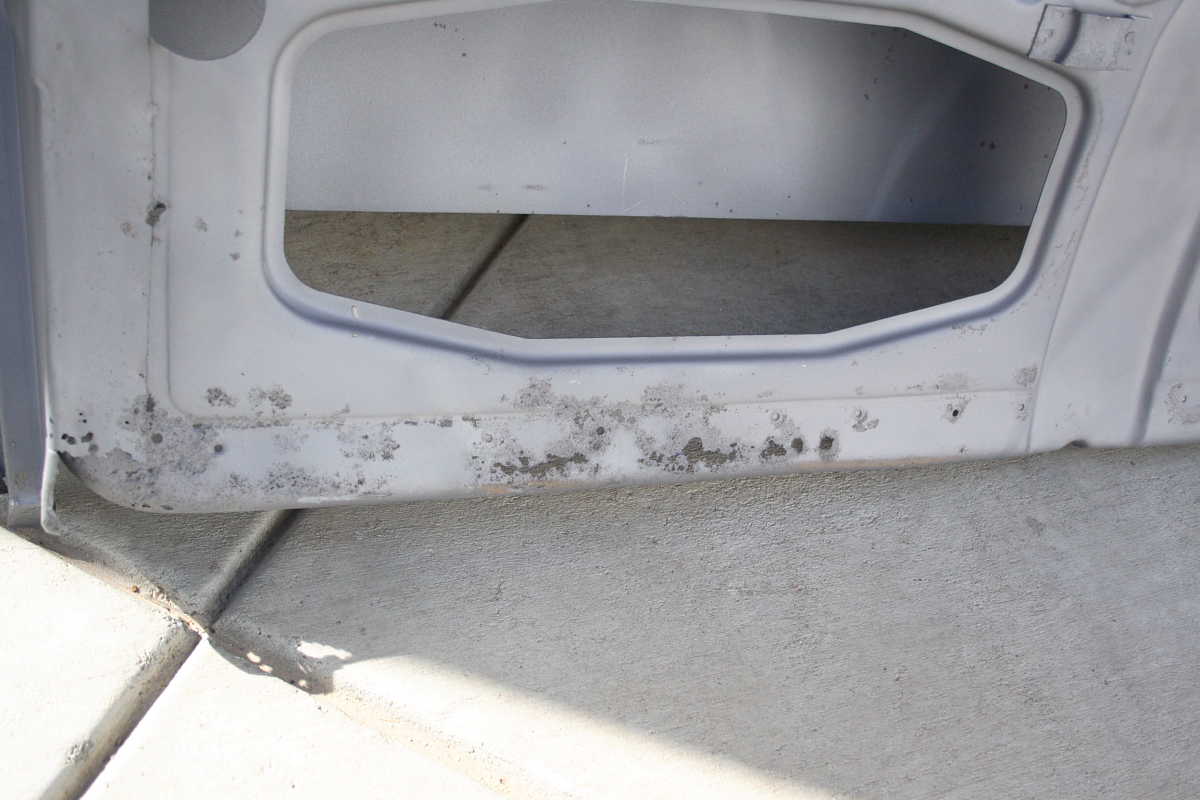
Here’s a view with the door bottom installed.

Several modifications were required to “fix” the commercially available door bottom. Slots had to be moved and the impressions were altered for a more factory look. Please ask me if you’re interested in those details.
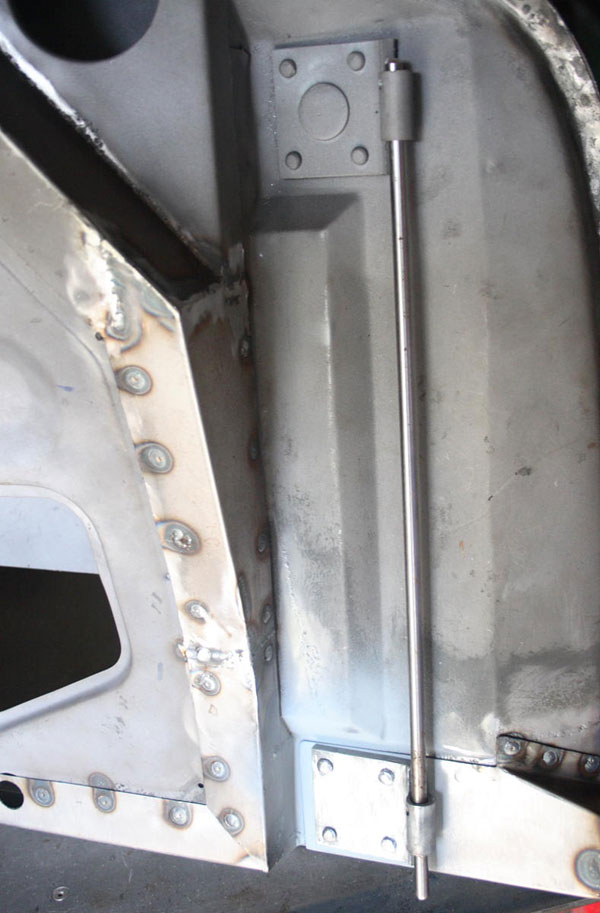


Hinge alignment rod. Several measurements and trial fit on car before the hinge was riveted back on.
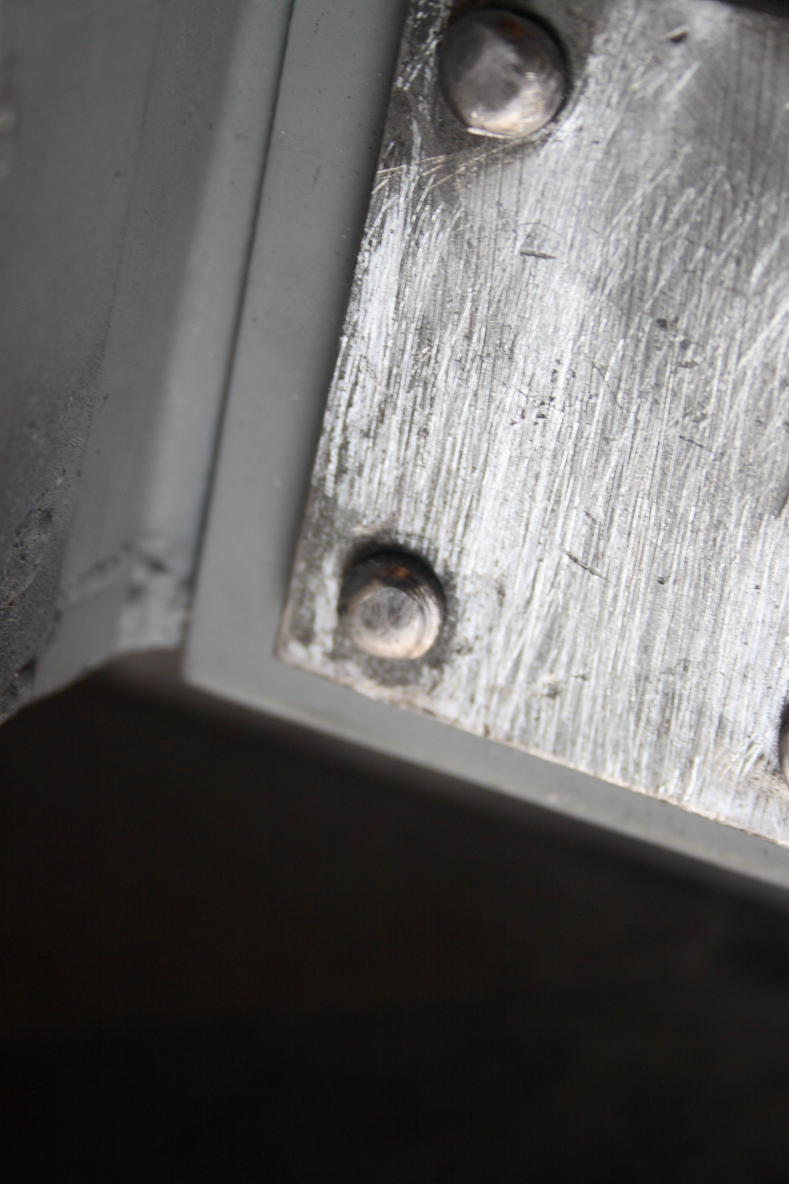

A close up of the hinge solid rivets. They were clinched with an air impact hammer and backed up with a dished buck.
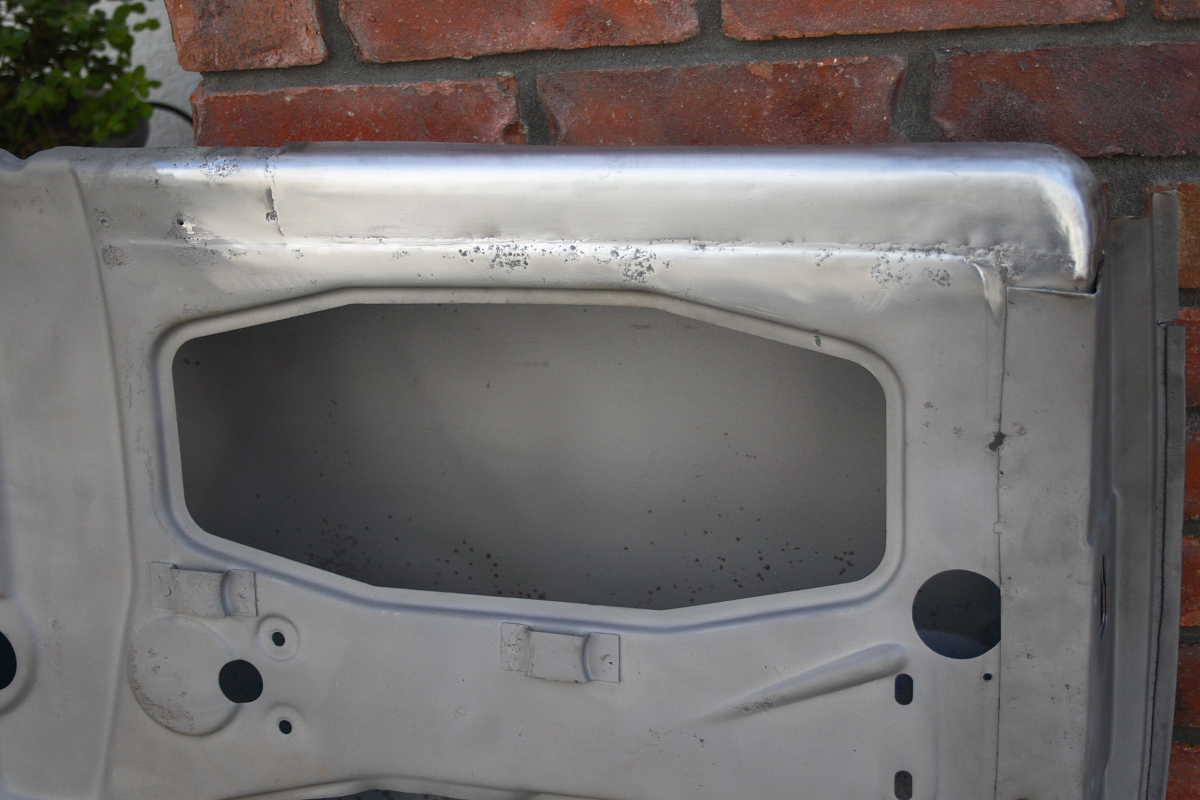
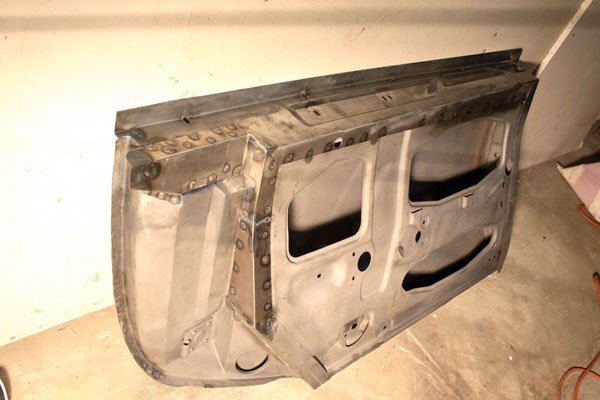
Beginning to look like a door again, but far from the simple door skin patch I originally anticipated. My lesson learned here is to thoroughly inspect a car before you buy to understand how sound the metal is. Even if the rust appears localized in most cases its not. By the time rust matures enough to bubble the paint its has spread everywhere inside the door. On a positive note, I enjoy the challenge and since this is my first 356 restoration I’m learning very quickly! Thanks for following along and I’m happy to answer questions in case I forgot to cover something.