Here is part 2 of our rear quarter window reassembly.
New Rubber insert preparation
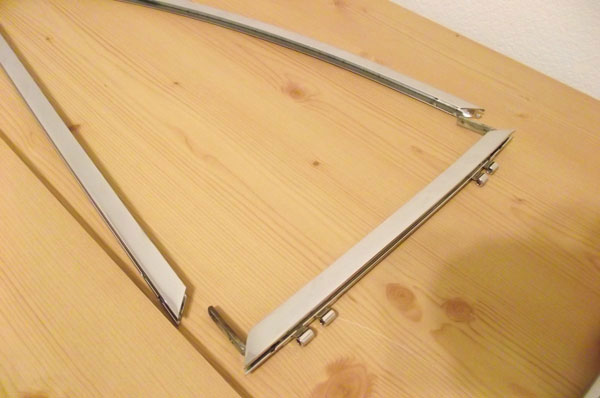
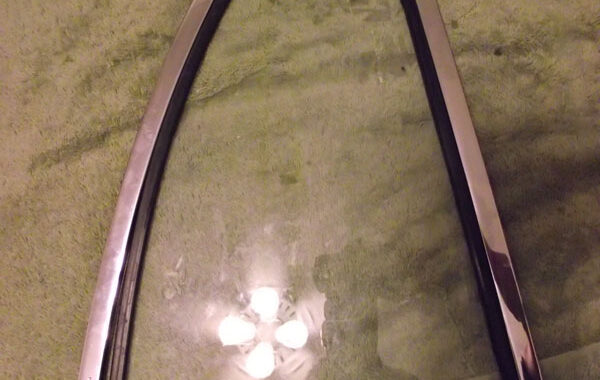
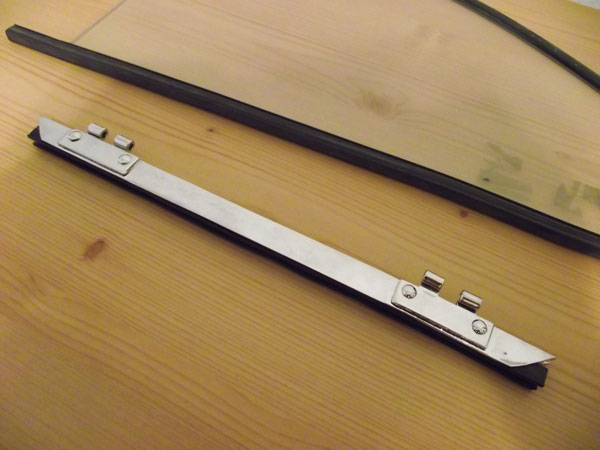
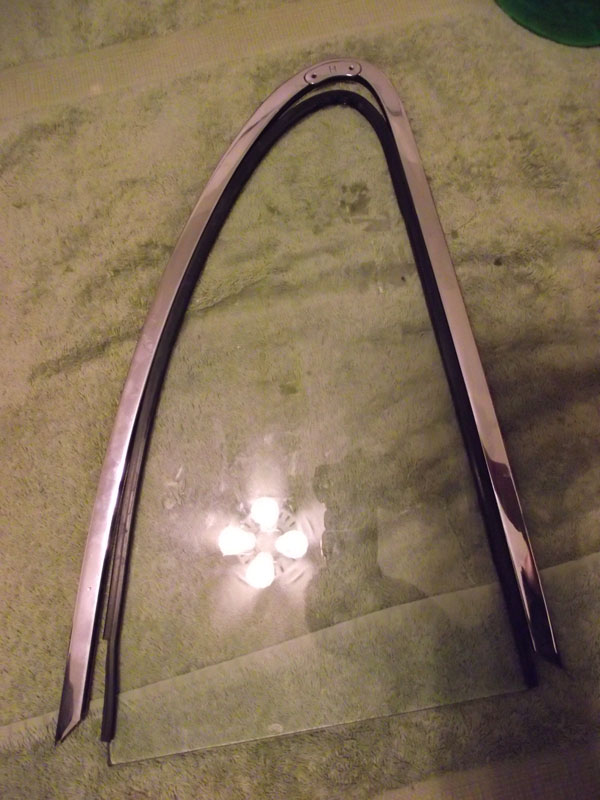
Now that the trial fitment of the frames is complete its time to pull the first one back apart to make way for new rubber and glass.
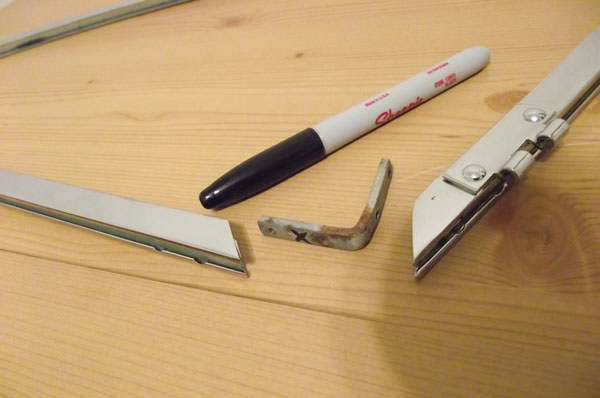
Might be more superstition on my part but I want the couplers to go back in exactly the same way they came out on the test fit. That way if I have fitment issues later I know in my mind that the frames and hardware are in exactly the same way eliminating one cause of poor or difficult assembly. I marked the end of each coupler ensuring the ends do not get flipped over when I reassemble. The marked side goes into the main frame.
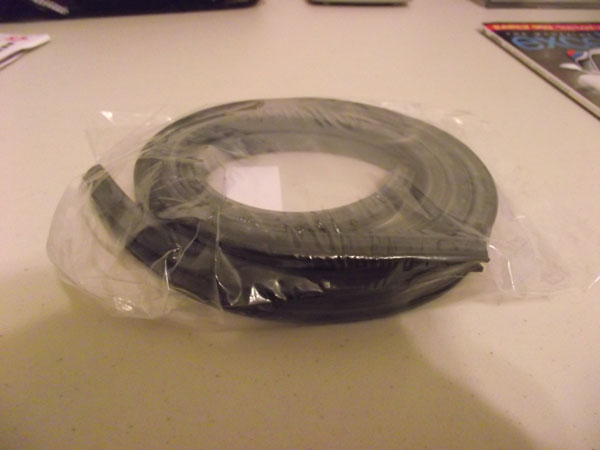
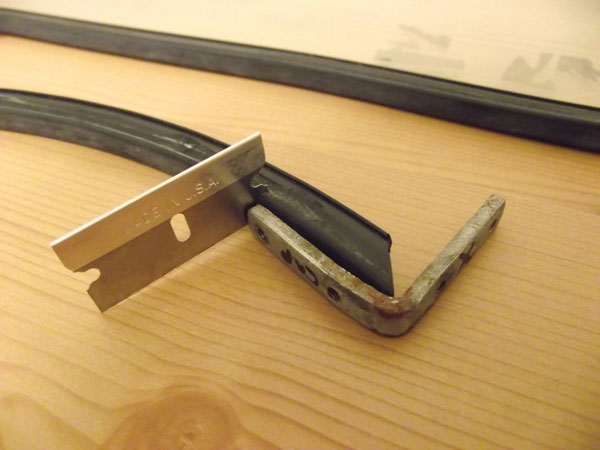
The new vendor supplied rubber inserts are extrusions that will need to be cut to correct length with proper recessed and angled ends. Pictured is the standard offering enough to do one pair of windows.
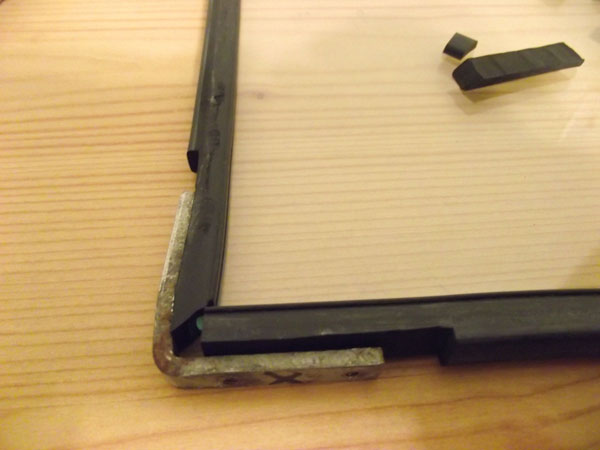
The basic end cap length has been cut and installed into the channel. The remaining portion has been wrapped around the glass in anticipation of its final cut length.
We can now cut both ends of this piece to its final length and corresponding angled cut.
Ends are to final length. Cutting it installed in the channel makes for a more accurate cut and is a great holding jig.
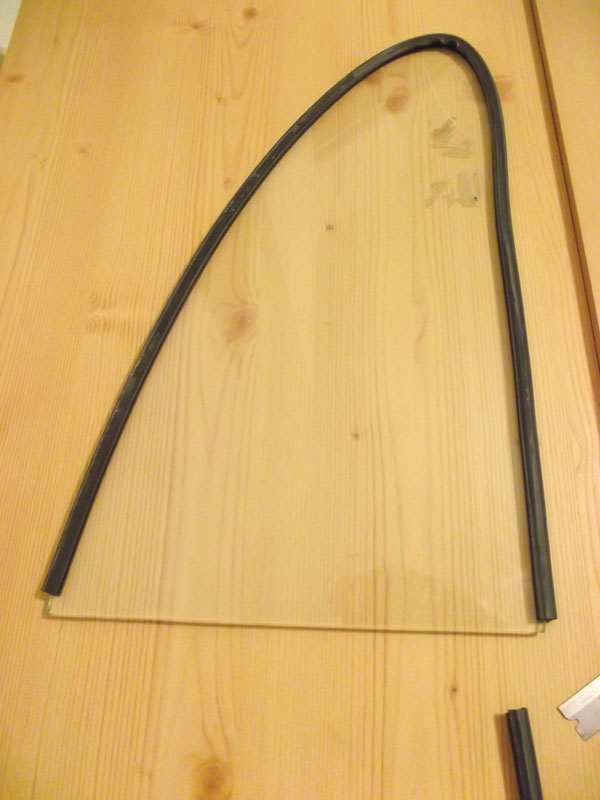
The rubber is installed around the glass for trial cut to remove excess length. The rubber should wrap around the glass with minimal to no tension on it; not stretched or tight. I like the ends trimmed back just shy of the end of the glass. During assembly when the glass and rubber are driven into the frame the rubber will be stretched forward. This cut length just takes that into account.
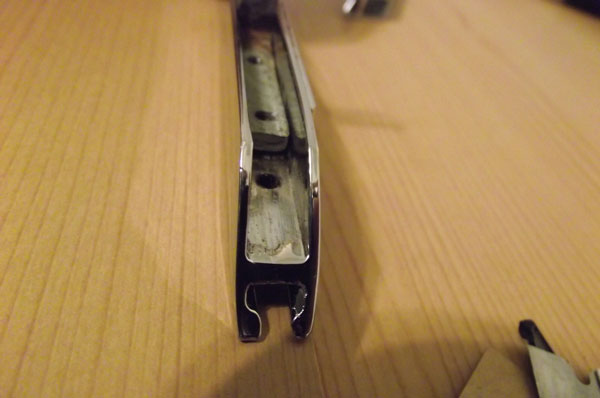
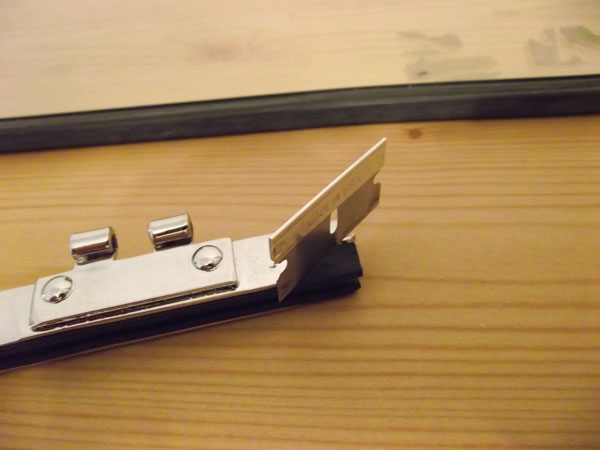
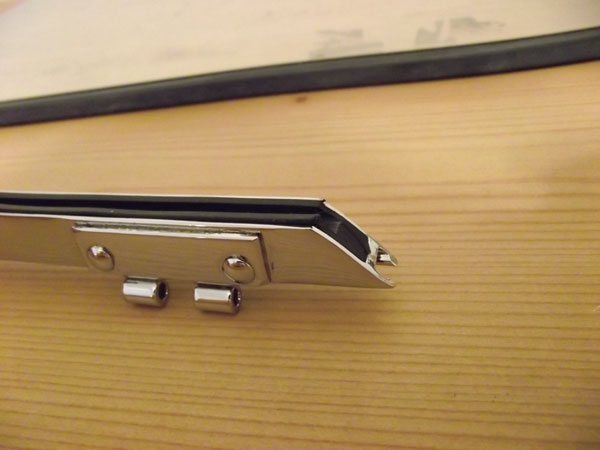
The Rubber extrusion fits into this trough perfectly. At the joint ends the rubber must share space with the coupler brackets. You can see the thickness of the bracket here. A section of lower rubber out of each end must be cut out to accommodate the thickness of these couplers. You would never get this frame to fit together without them.
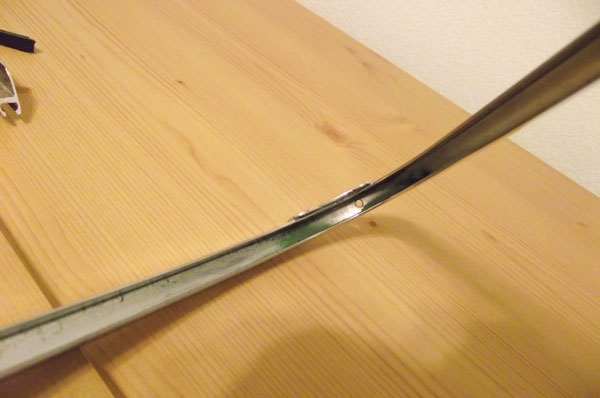
My relief section being started here. Take care not cut too deep and breach the floor of the window saddle. Doing so could make an installed uniform final seal fitment more difficult.
Recesses cut in here. I like to give myself a little extra room for any possibly needed adjustment which might include more shortening on the tips. You especially want the added room on the top and bottom for the forward stretching that will occur during the installment phase. You’ll notice that I have not cut in the angled tips on the bottom yet. To ensure a good rubber fitment at the corners this final cut will be almost the last thing done before the frame end goes on.
This last bit of preparation is to make sure the frame troughs are clean. The photo above shows polishing compound build up in the corners. The fitment is so tight in here that just this bit of buildup would wreak havoc by not allowing the glass and rubber to bottom out and seat fully into the frame. I would have clearance issues with my brackets and cap rubber. As you can tell I’ve made this mistake before.
Now that the frame troughs are clean and the rubber has been trimmed to fit we are now finally ready to install the glass and assemble this unit. Part 3 the conclusion is coming up shortly. Thanks for reading this! Justin