The Final Assembly
We now have clean frame troughs and properly trimmed rubber base seal. The final key for a successful reassembly is good lubrication. It would be nearly impossible and far too hard on the new seal without it. I have heard of guys using all sorts of products to do this such as grease, oil and silicone. All can be messy and hard to clean up. I have also heard of oils fogging up the laminate on edges of the glass.
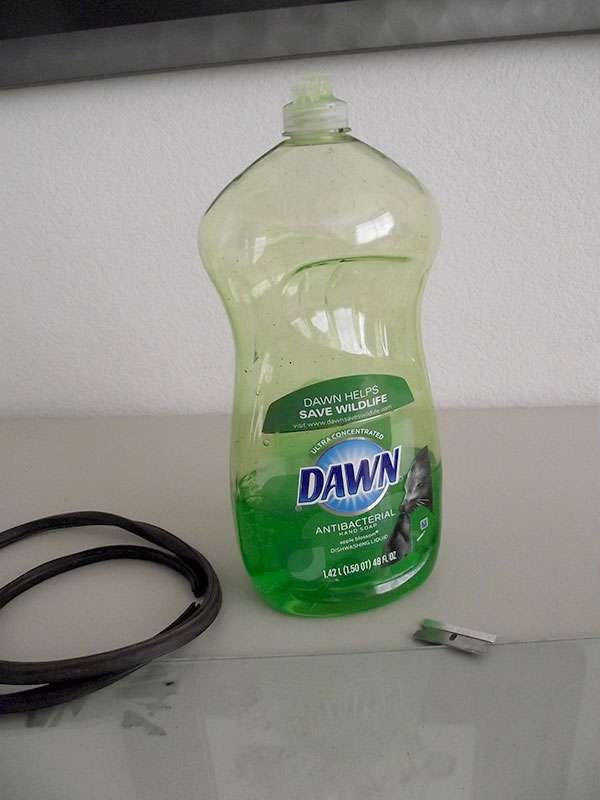
Good old fashioned liquid dish soap is my lubricant of choice for this job. There is no danger of fogging the laminate, cleanup is a snap and you won’t ruin a shirt or other clothing while wrestling with the frame during assembly.
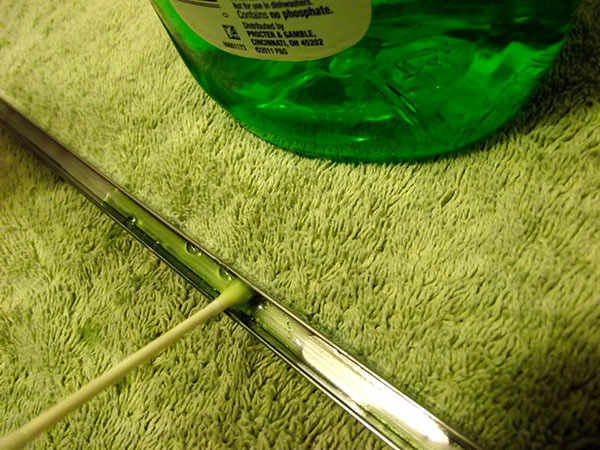
Be very liberal with its application. Make sure all surfaces of the trough get coated thoroughly.
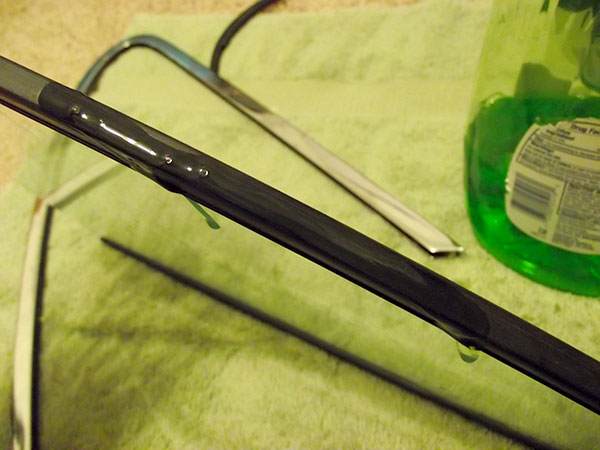
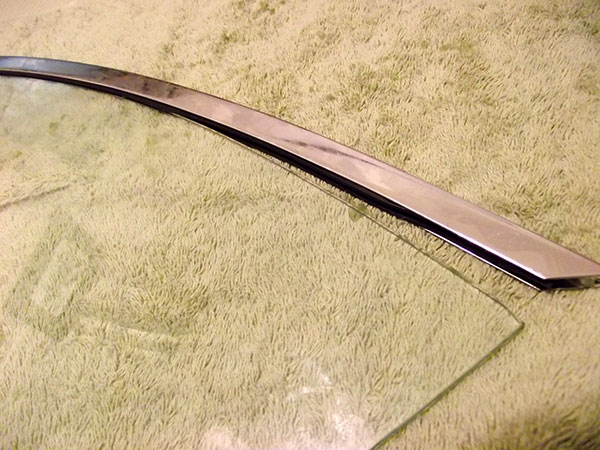
Rubber seal also gets thoroughly coated in soap.
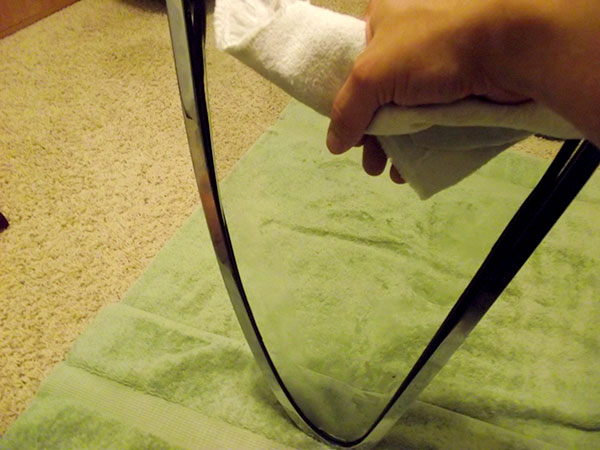
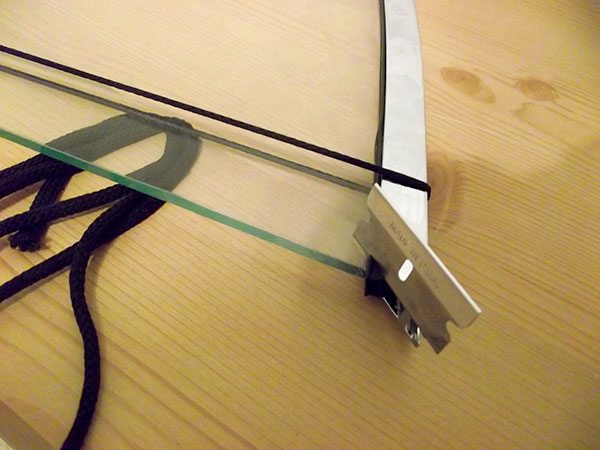
A nice padded carpeted floor with a towel down is my place of choice to assemble these frames. No real chance of damaging my new chrome plate here. Once I get my reminder that “This is not a garage” from the “boss” I am good to go. With the rubber seal seated on the glass first slowly and evenly insert it into the frame. Once started some light downward pressure will take it most of the way in. Some light taps on the floor maybe needed to get it seat and bottom out into the frame completely.
Once the glass and seal are seated a common glitch in this initial reassembly stage is for the frame ends to spring out away from the glass. The seal stays in position but the glass is now out of the seal. If this is allowed to happen you’re done. You’ll have to pull the glass and rubber out and begin again. Its far more time and trouble to attempt slipping the glass back into its trough.
You’ll need an extra pair of hands to hold pressure on the frame to keep this from happening. However, if you are assembling alone like I often do a little trick is a looped draw string from an old pair of sweat pants. The loop should be tied beforehand and be a touch smaller than the widest ends of the frame to ensure good tension and clamping force. (it should have the consistency of a guitar string) This trick works beautifully and makes the rest of the assembly process go much smoother!
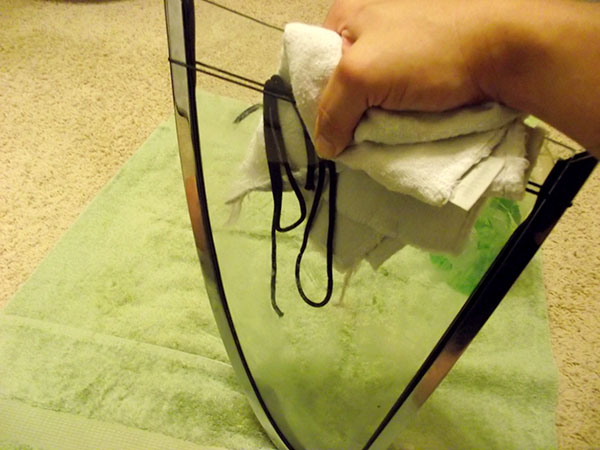
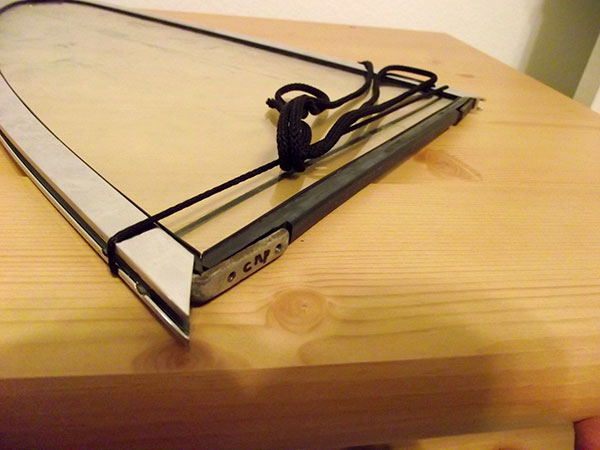
Now that the ends of the frame are under control I can continue pushing and tapping the glass and rubber into their full position. Doing some light taps into the floor with the entire unit here to get that last little bit. Here is where the padded and carpeted floor comes in to prevent any damage to my new chrome.
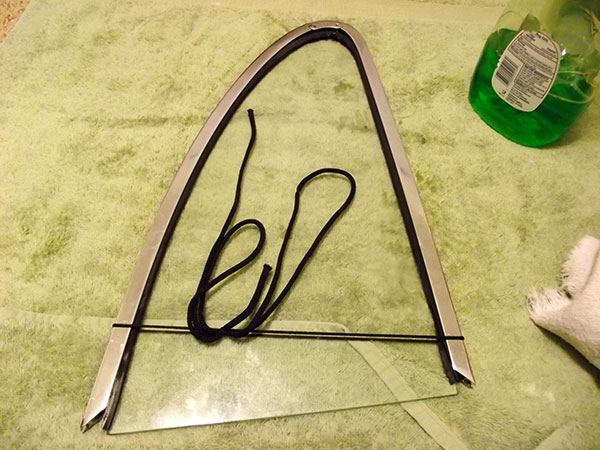
The glass and new rubber seal are in their final seated position into the frame I am now ready to make the final angle and length cuts to the ends of this seal. This is commitment time! Before you make these cuts be sure the glass is seated and that it does not need to be removed again. If it does after the fact you will be very hard pressed to get this rubber seal in exactly the same spot with the same tension length again. This will create gaps and poor fitment where your rubber corners meet.
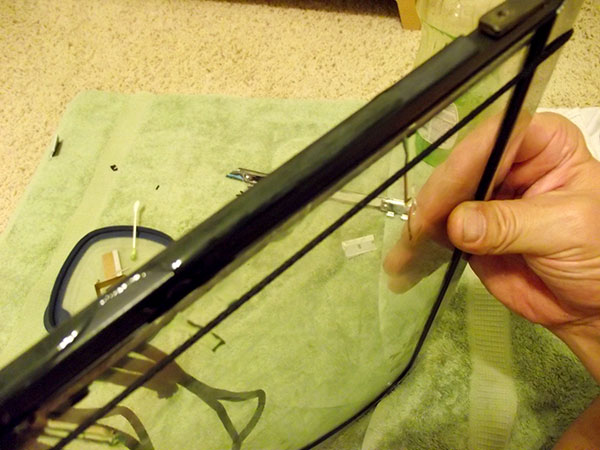
Now that the corners are cut its time to install the internal couplers and the rubber seal end cap. If your glass is not fully bottomed out and seated in the frame you will have clearance issues with seal and couplers. I like to coat the couplers with grease as an added rust inhibitor which will keep the tiny screws from freezing.
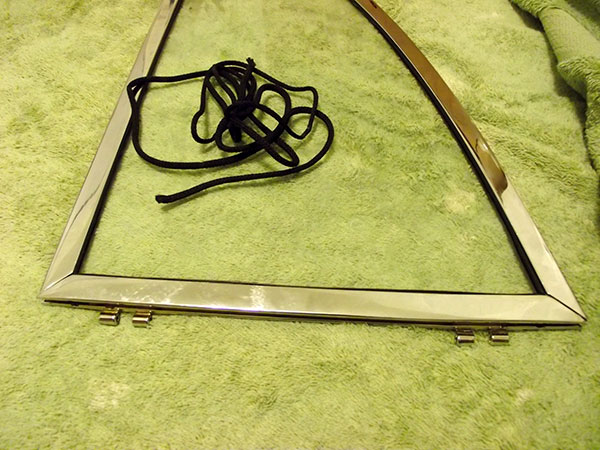
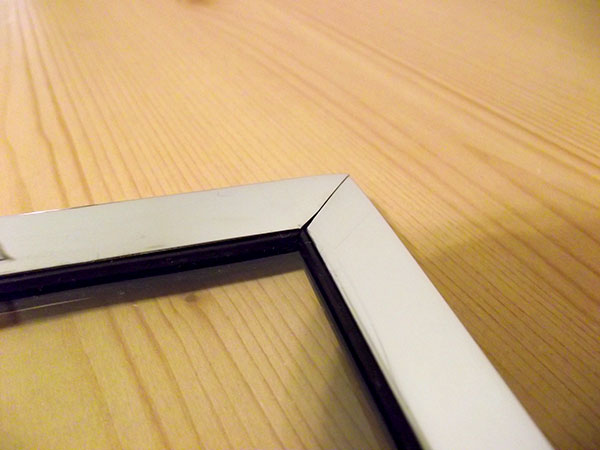
New rubber cap seal and coupler brackets set. We are now finally ready for the chrome frame end cap. The screws on these brackets are just started and are not tight. Keep this hardware loose for adjustment purposes.
Again more soap liberally applied the end cap trough and rubber seal to ensure a smooth installation.
Cap is now installed with all screws installed but still NOT tightened yet. The draw string can now be safely removed.
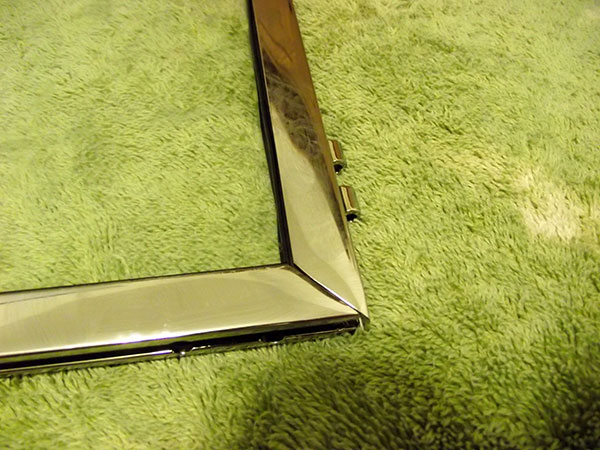
Typical initial fitment here shows uneven corners. Here is where the loose screws come in to adjust this out. A correct sequence in which you loosen and tighten these screws will adjust this poor fitment out. The example above would call for backing the bottom screws out and then tightening the vertical ones to allow the overhang to catch up and even out with the bottom. Once they are even you can go back and snug all four of the screws up at this corner.
This corner is now fully adjusted and set. As careful and clear I was with the chrome shop about these precise machined mating surfaces they still managed to buff a little of the edge off. Not much can be done at this point. This photo however, makes this gap appear worse than it really is. Notice the flush fitment of the rubber at the corners. This is where cutting that last section of rubber at the very last moment pays off.
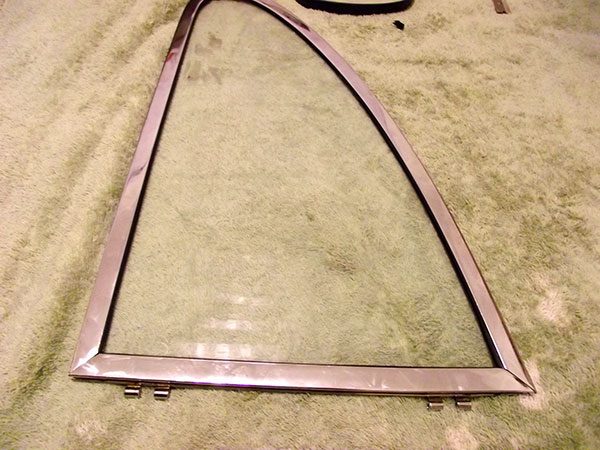
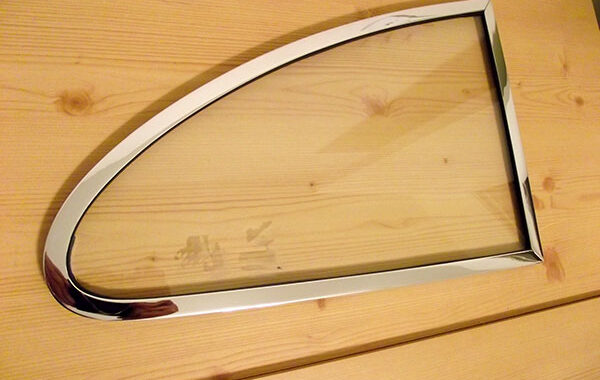
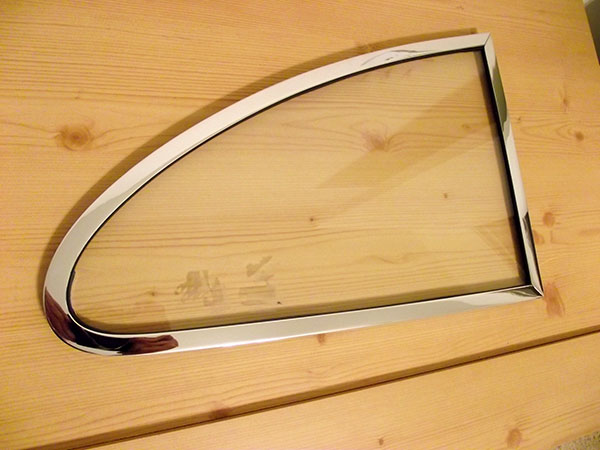
Window frame assembly and adjustment are now complete. Clean up time.
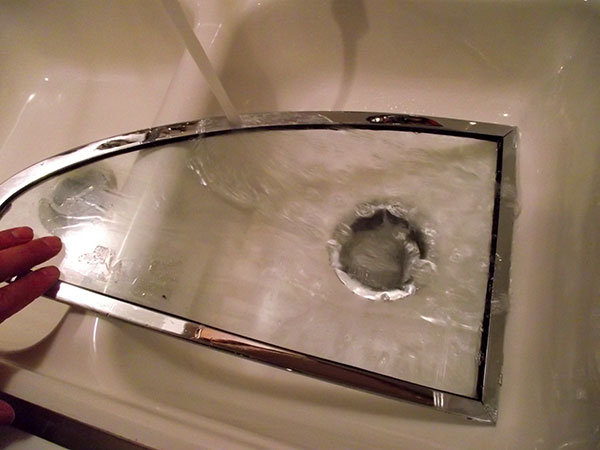
This is where using soap over a petroleum product pays off. The cleanup is quick and easy! A thorough rinse in the sink and it is done.
The first unit is now complete; repeat other side. These frames will still prove challenging but it is my hope that this quick guide might help to make the journey a little smoother. Best of luck with your project! Justin