Everything you wanted to know about rear quarter window reassembly but were afraid to ask. This window assembly remained virtually unchanged from 1951 all the way through to productions end in 1965. The following procedure will therefore apply to any 356 coupe quarter window frame regardless of the year of manufacture.
This window frame unit can prove to be one of the most challenging and frustrating components to put back together correctly during a restoration. The following step by step guide is based on many personal experiences. It is my hope that this blog post will provide a roadmap and a basic plan of attack to help ease the assembly process with the best end result possible.
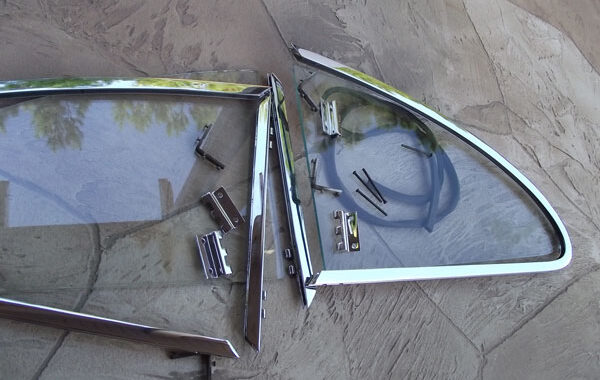
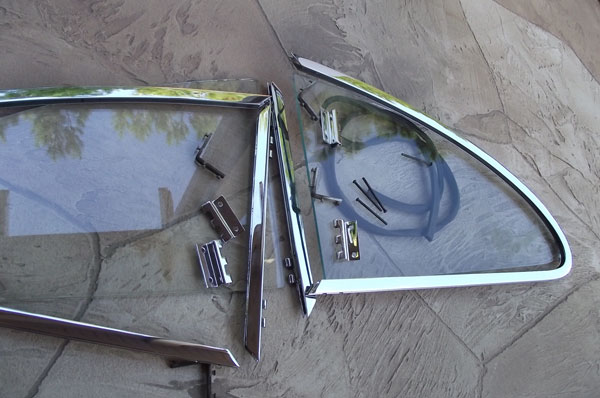
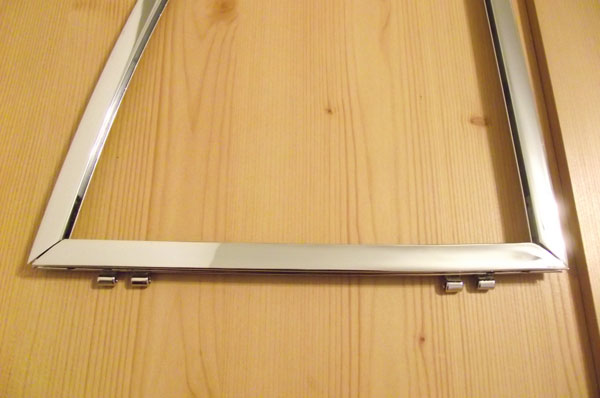
Bare frame fitment and trial assembly. The number one and most important step to do first which will ensure a much smoother and proper final assembly is a test fit of the frame alone with its joint couplers. Attempting to force fit new untested parts such as those corner couplers with frames just back from chrome plate topped off with the pressure of squeezing new rubber with glass is a bridge too far. The end result will most likely be high frustration with poor gap and corner alignment along with cross threaded or missing screws because the holes did not line up right. If your frame does not fit together correctly by itself you can forget about it coming out right under the added pressure of new rubber with glass. Test fit first.
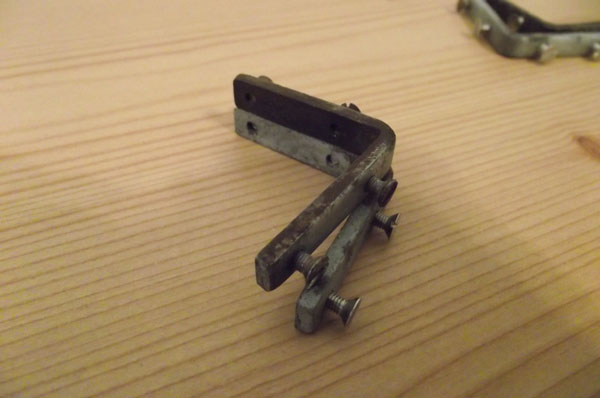
Get the rights parts in the right places for frame trial fitment. More often than not the original coupler brackets are too rusty to be reused. The top coupler will sometimes survive but more often than not the bottom bracket looks like the ones pictured, thin and broken with the screw shanks twisted off in them. This is all due to time and pooled moisture of course. I have used the vendor replacements on several sets and have had great results every time. They are a good product.
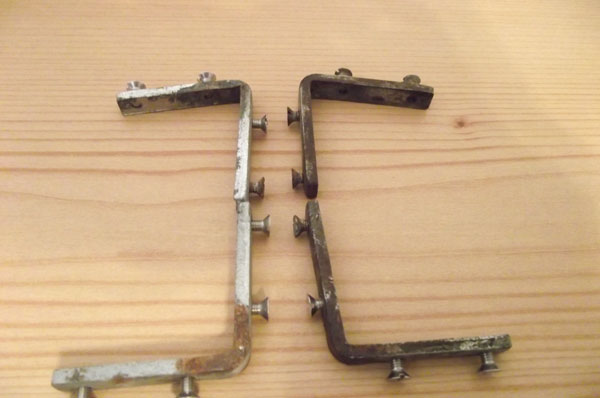
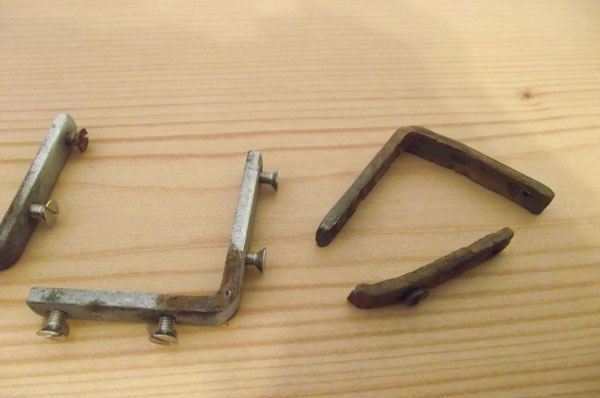
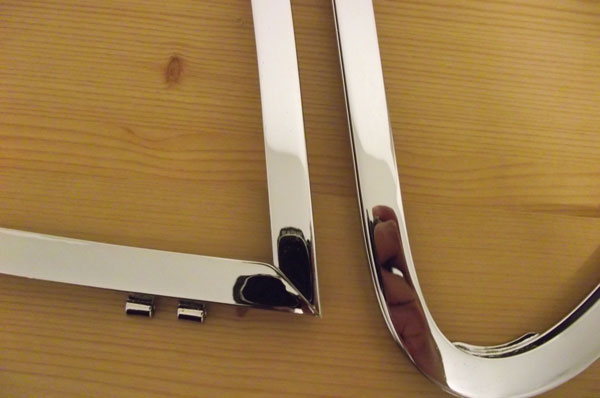
The original brackets for my example set had survived almost intact. A very rare occurrence; you will most likely be using the vendor offered items. Though they are very close, there are two top couplers and two bottom couplers in every set. The bottom couplers are bent at a solid 90 degrees. The top couplers are bent just a little tighter to compensate for the sloping profile of the upper frame.
Here is a side by side comparison with the tighter bent upper bracket is on the top. If you cross mount these there will be high misalignment at the corners and the outer screws won’t reach. I am referring to the upper bracket.
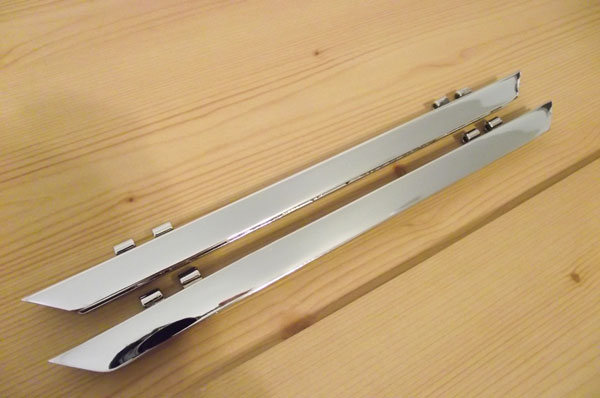
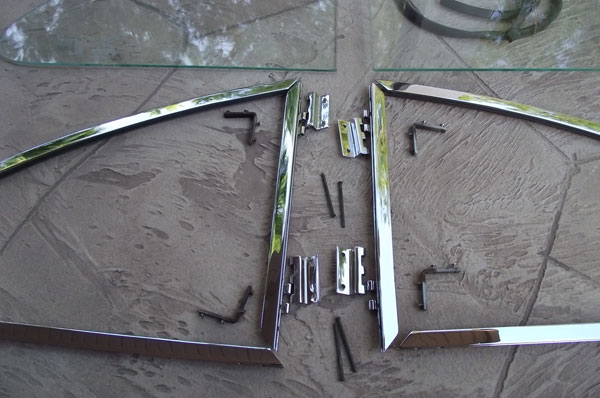
Identifying the frame end caps. The frame uprights look deceptively identical. They can appear to be generic from left to right. However, the miter cuts at each end are approach angled ever so slightly. There is a true right, left, top and bottom. If you are assembling a mismatch set or did not keep track of what side the upright was from you will most likely experience alignment issues at the joints. Again this is where test fitting pays off.
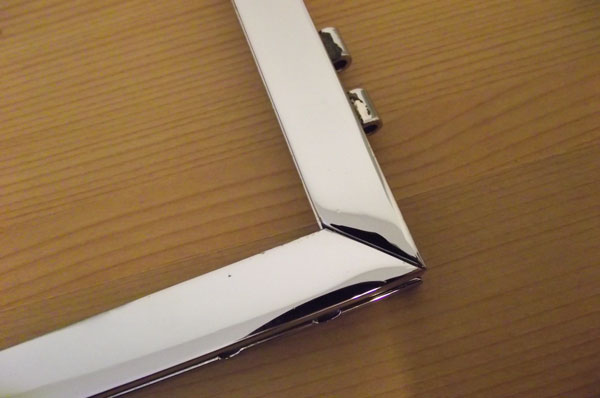
The factory joints and corners were nearly perfect in alignment and uniformity. Once you’ve tightened all your set screws this is the fitment you are looking for. This is assuming however, that your chrome plate shop did not polish down the corner tips or the miter cut mating surfaces. This unfortunately is very common occurrence with production chrome shops. If this has happened the best you can do short of welding on more brass and machining the ends is to average out your best fitment with what you have left.
If you have cross fit an upright with the wrong frame side this is what your best adjusted gap and fitment is going to look like.
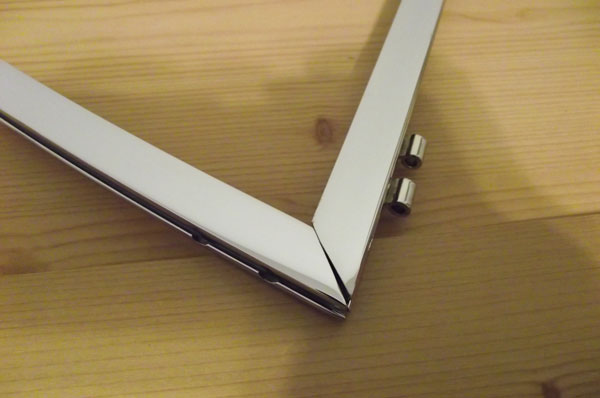
The upper corner joint will open at the end like a bird’s beak.
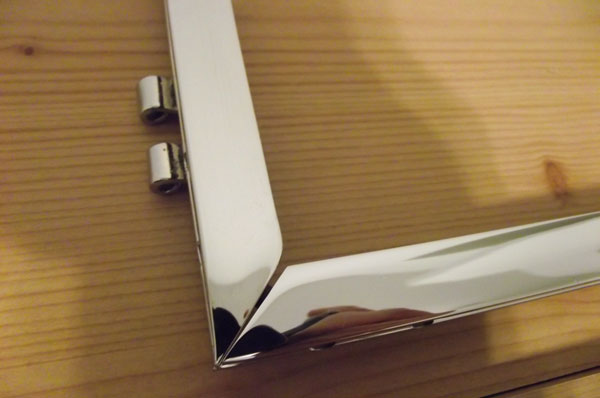
The bottom joint will be just the opposite with a closed down outer corner and a gaping inner section. If you’re using new coupler brackets you might blame them for the poor fitment. (I did) However, if you flip the end cap over (mounted with hinges out) it will all squeeze together beautifully. At least it should.
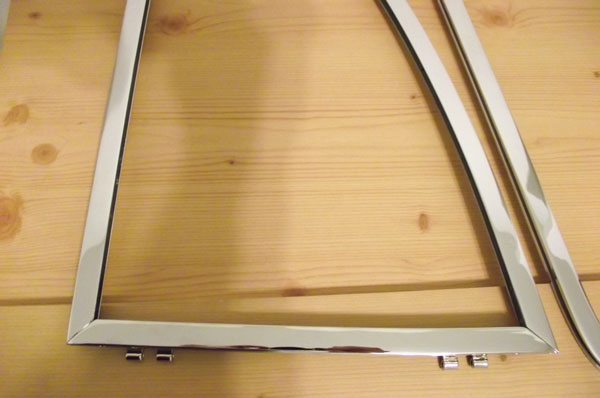
Correct final fitment achieved here. The first frame is complete and ready for the next stage.
All set screws are snug and in position with even corners and a tight uniform gap.
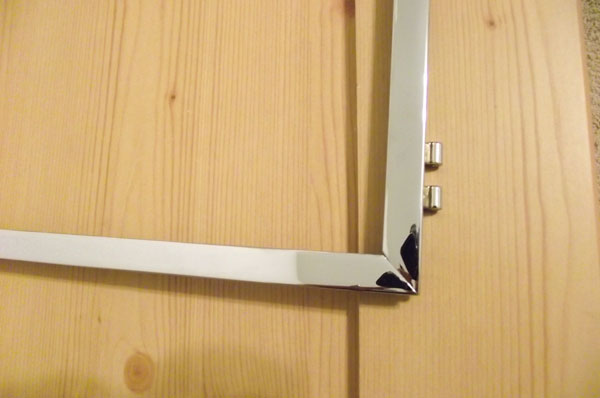
Tight bottom joint as well. Again, this is all assuming your chrome platter has not altered the ends from aggressive polishing. If this is the case you may have to file the ends and play the game of averages.
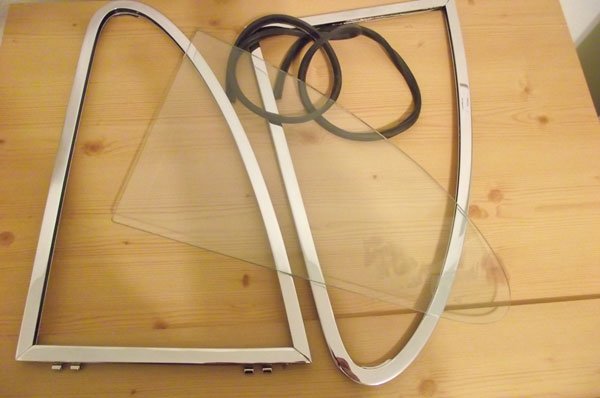
The trial assembly is now complete with nice corners and gaps on both frames. We are now ready to get some new rubber and glass in these frames. This procedure will be covered in part 2 coming up shortly. Thanks for stopping by! Justin